Monthly Archives: April 2013

Fuel system completed ?

Switchover valve, pump and filterFinished the fuel system this weekend, well it might get a few more tweaks yet but it’s all working now at least. I may well end up changing the fuel pump for a higher throughput version and having a pre-filter for each tank rather than a single pre-filter at some point.

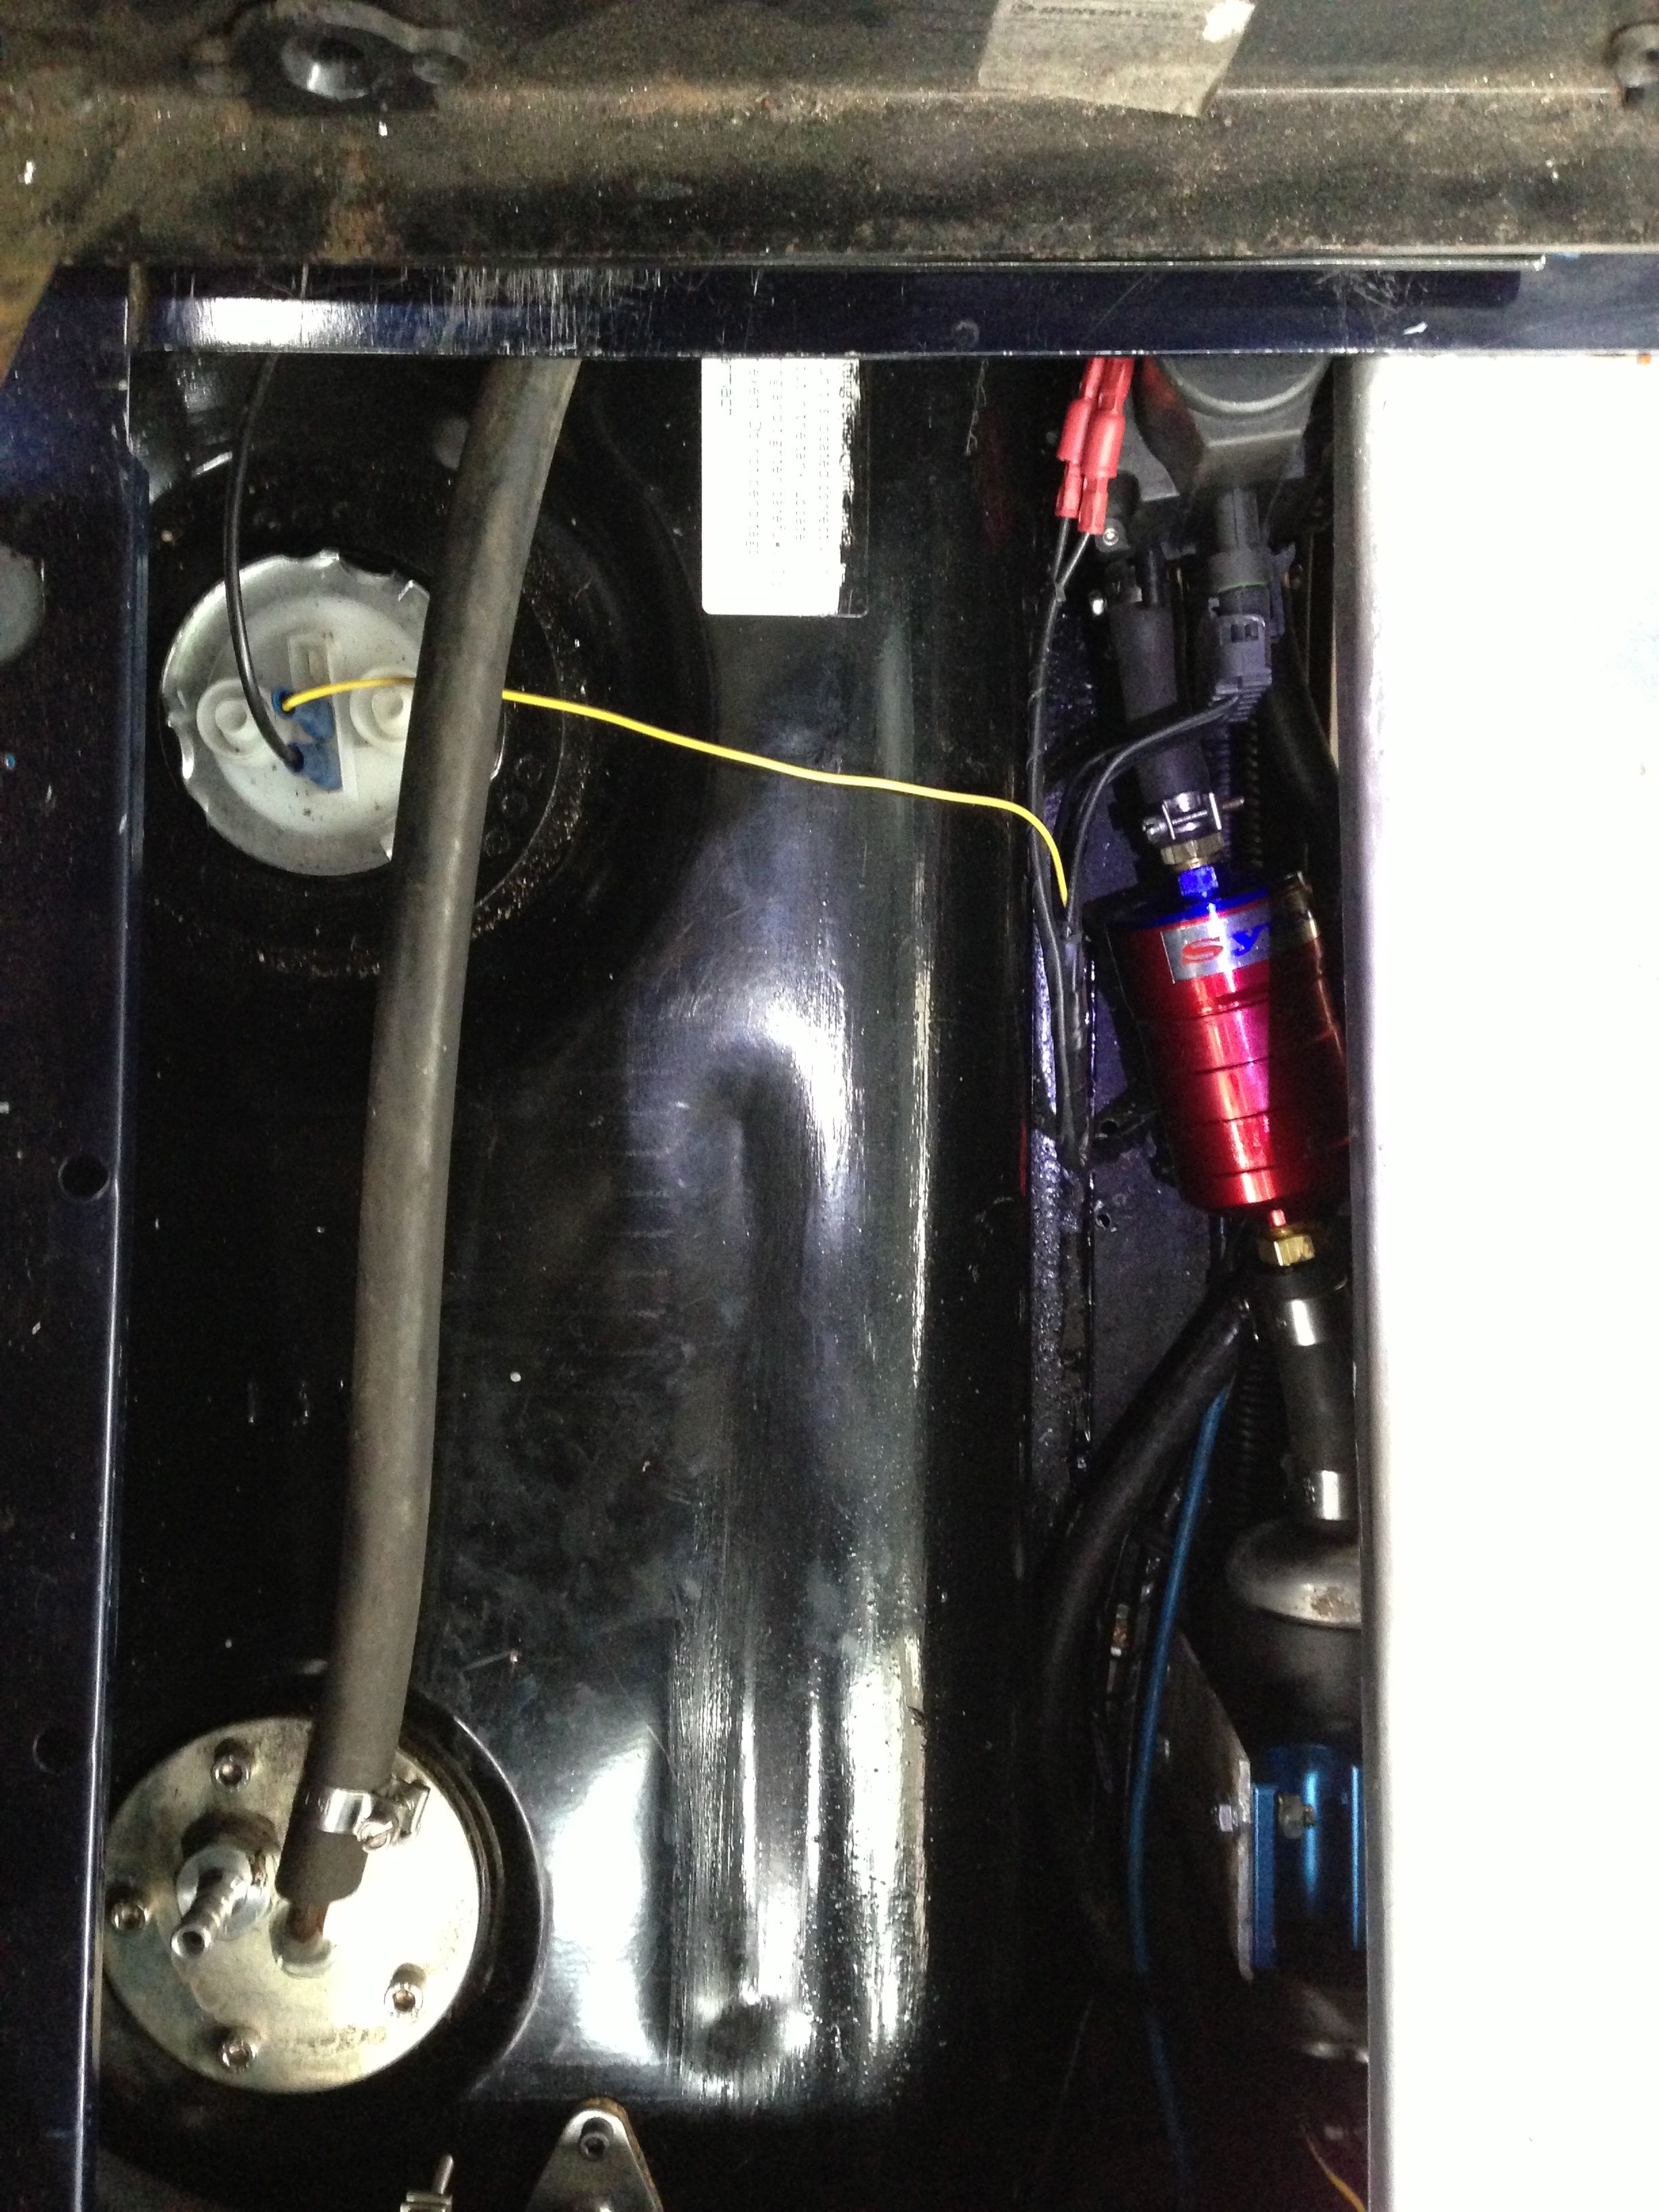
The picture on the left shows the under seat fuel tank and to the right of it the changeover valve (top right), filter and pump.

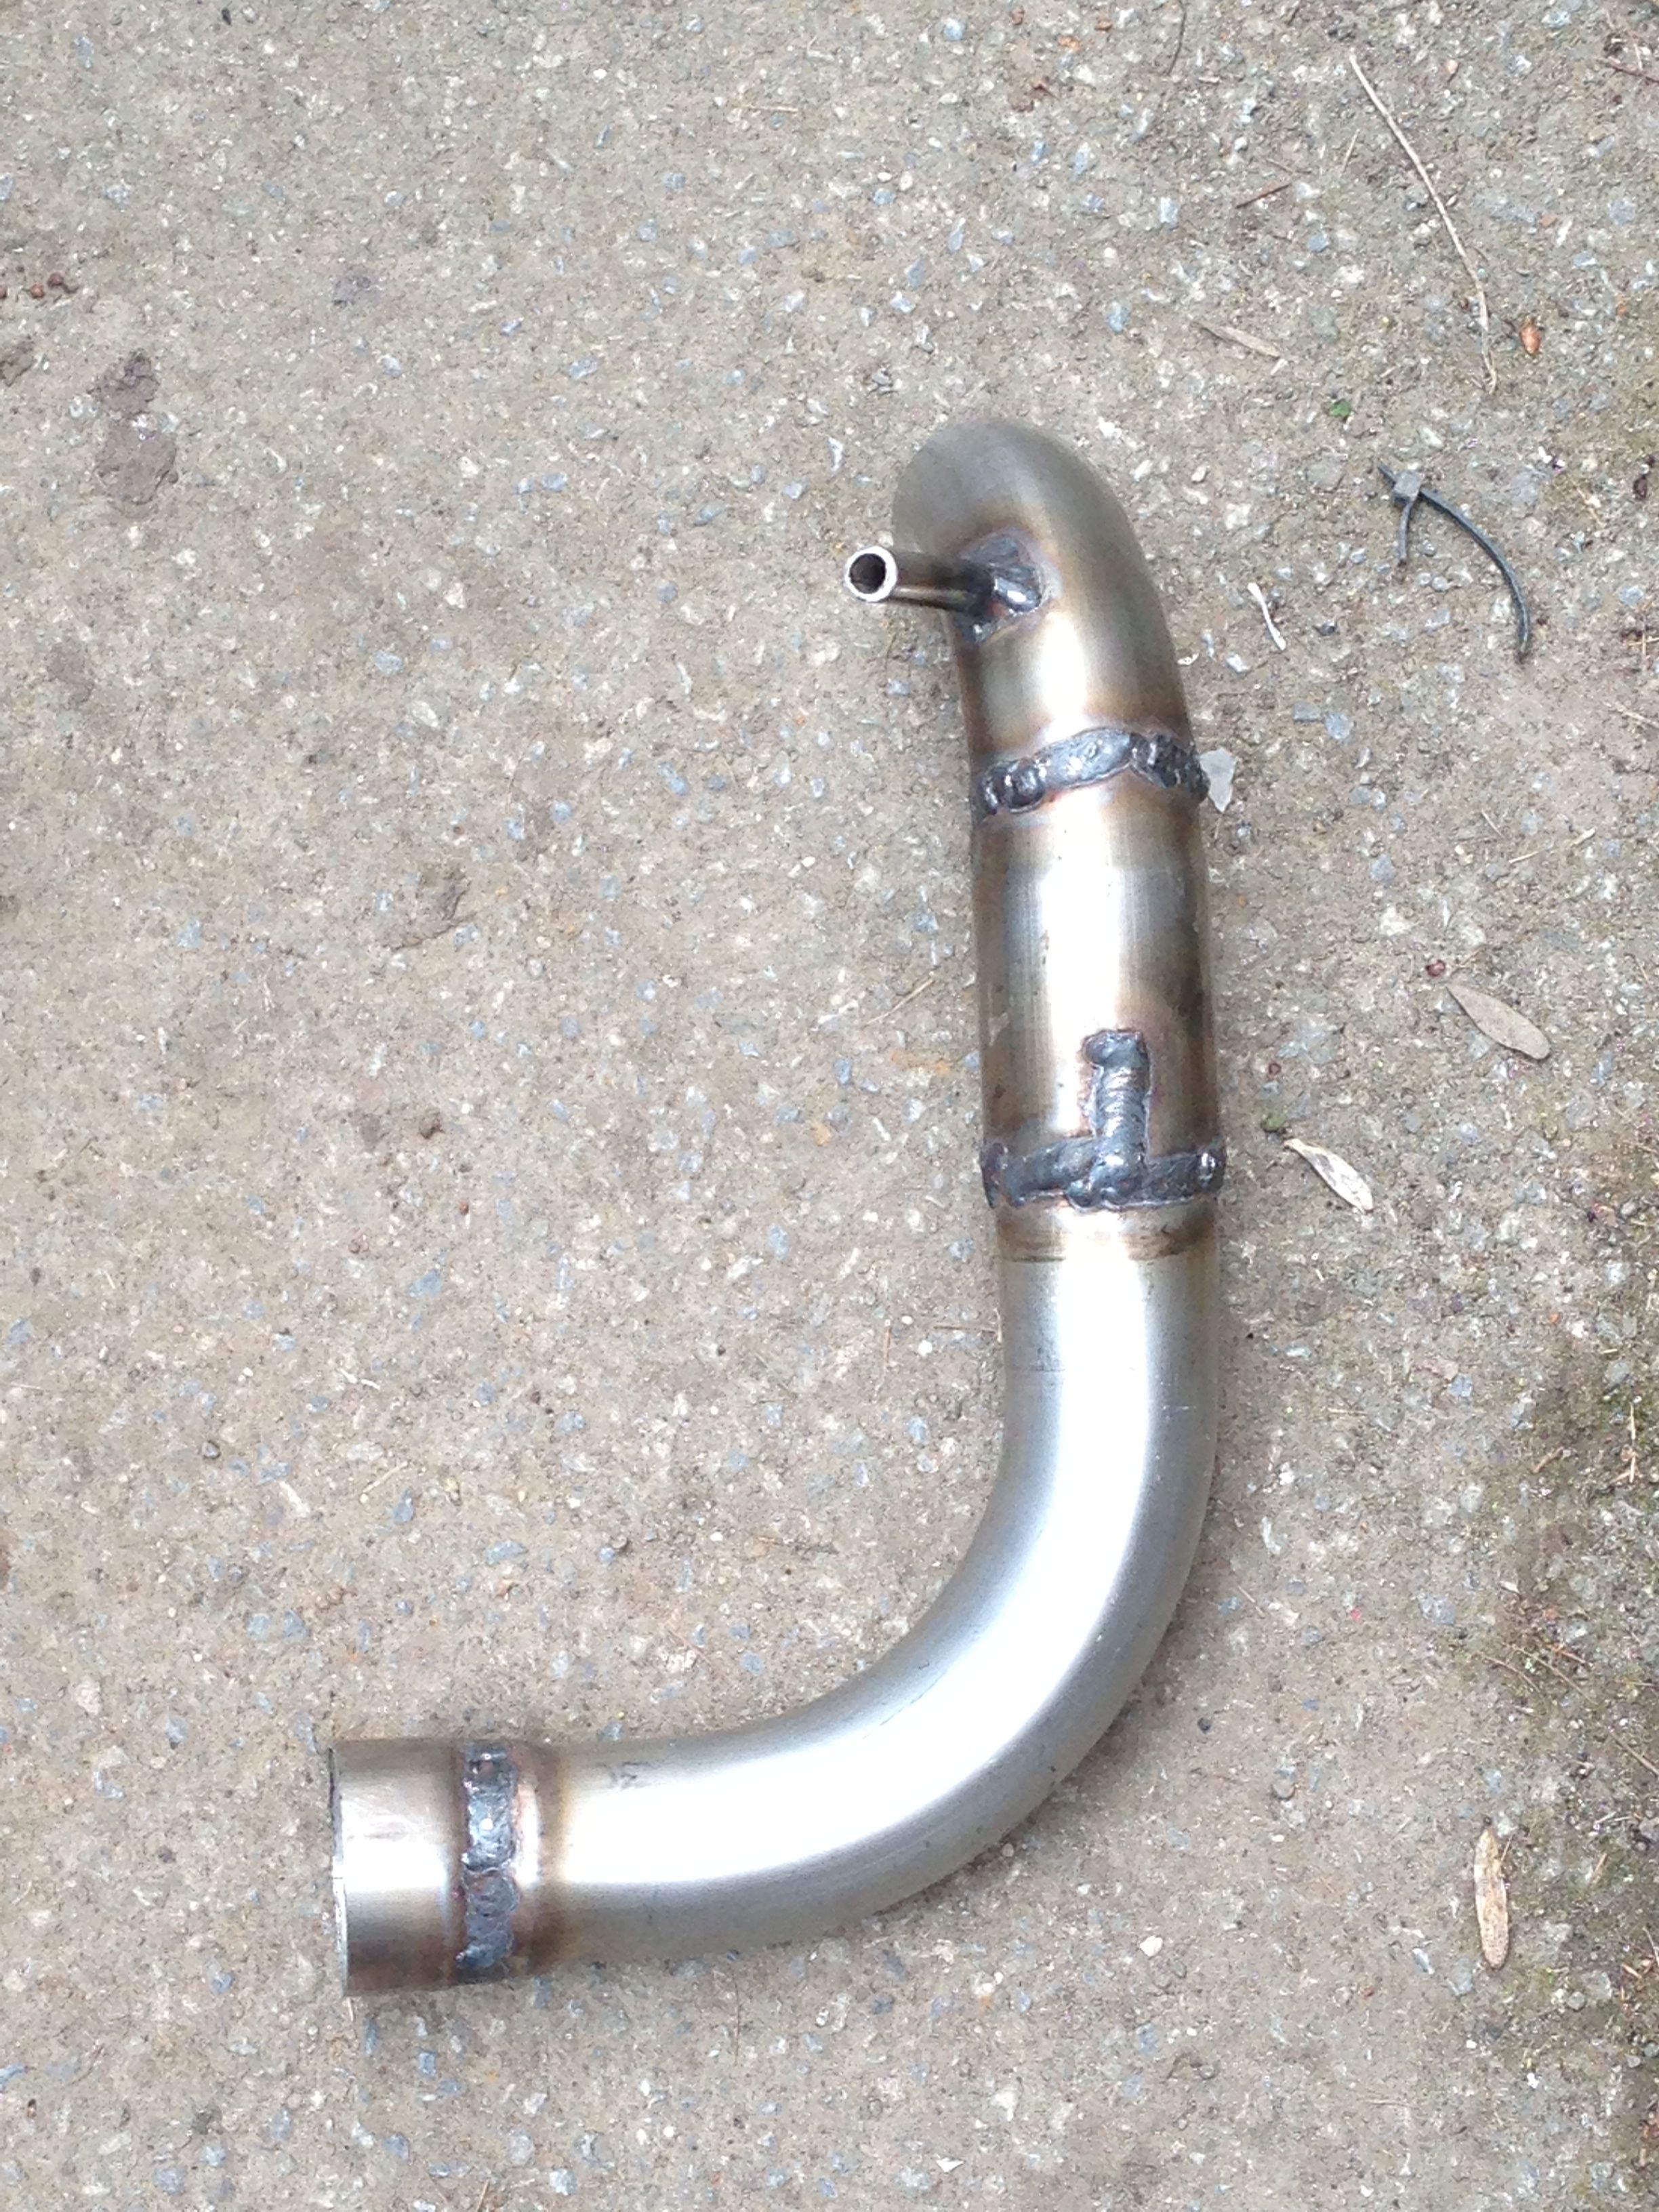
The pipe work was all fitted yesterday and today I made the mounting brackets for the valve and pump and wired it all up. I had to cut into the chassis loom to break the feed to the fuel gauge and wire it through the valve and the fuel pump wires needed extending as the fuel pump is now further forward than it was.

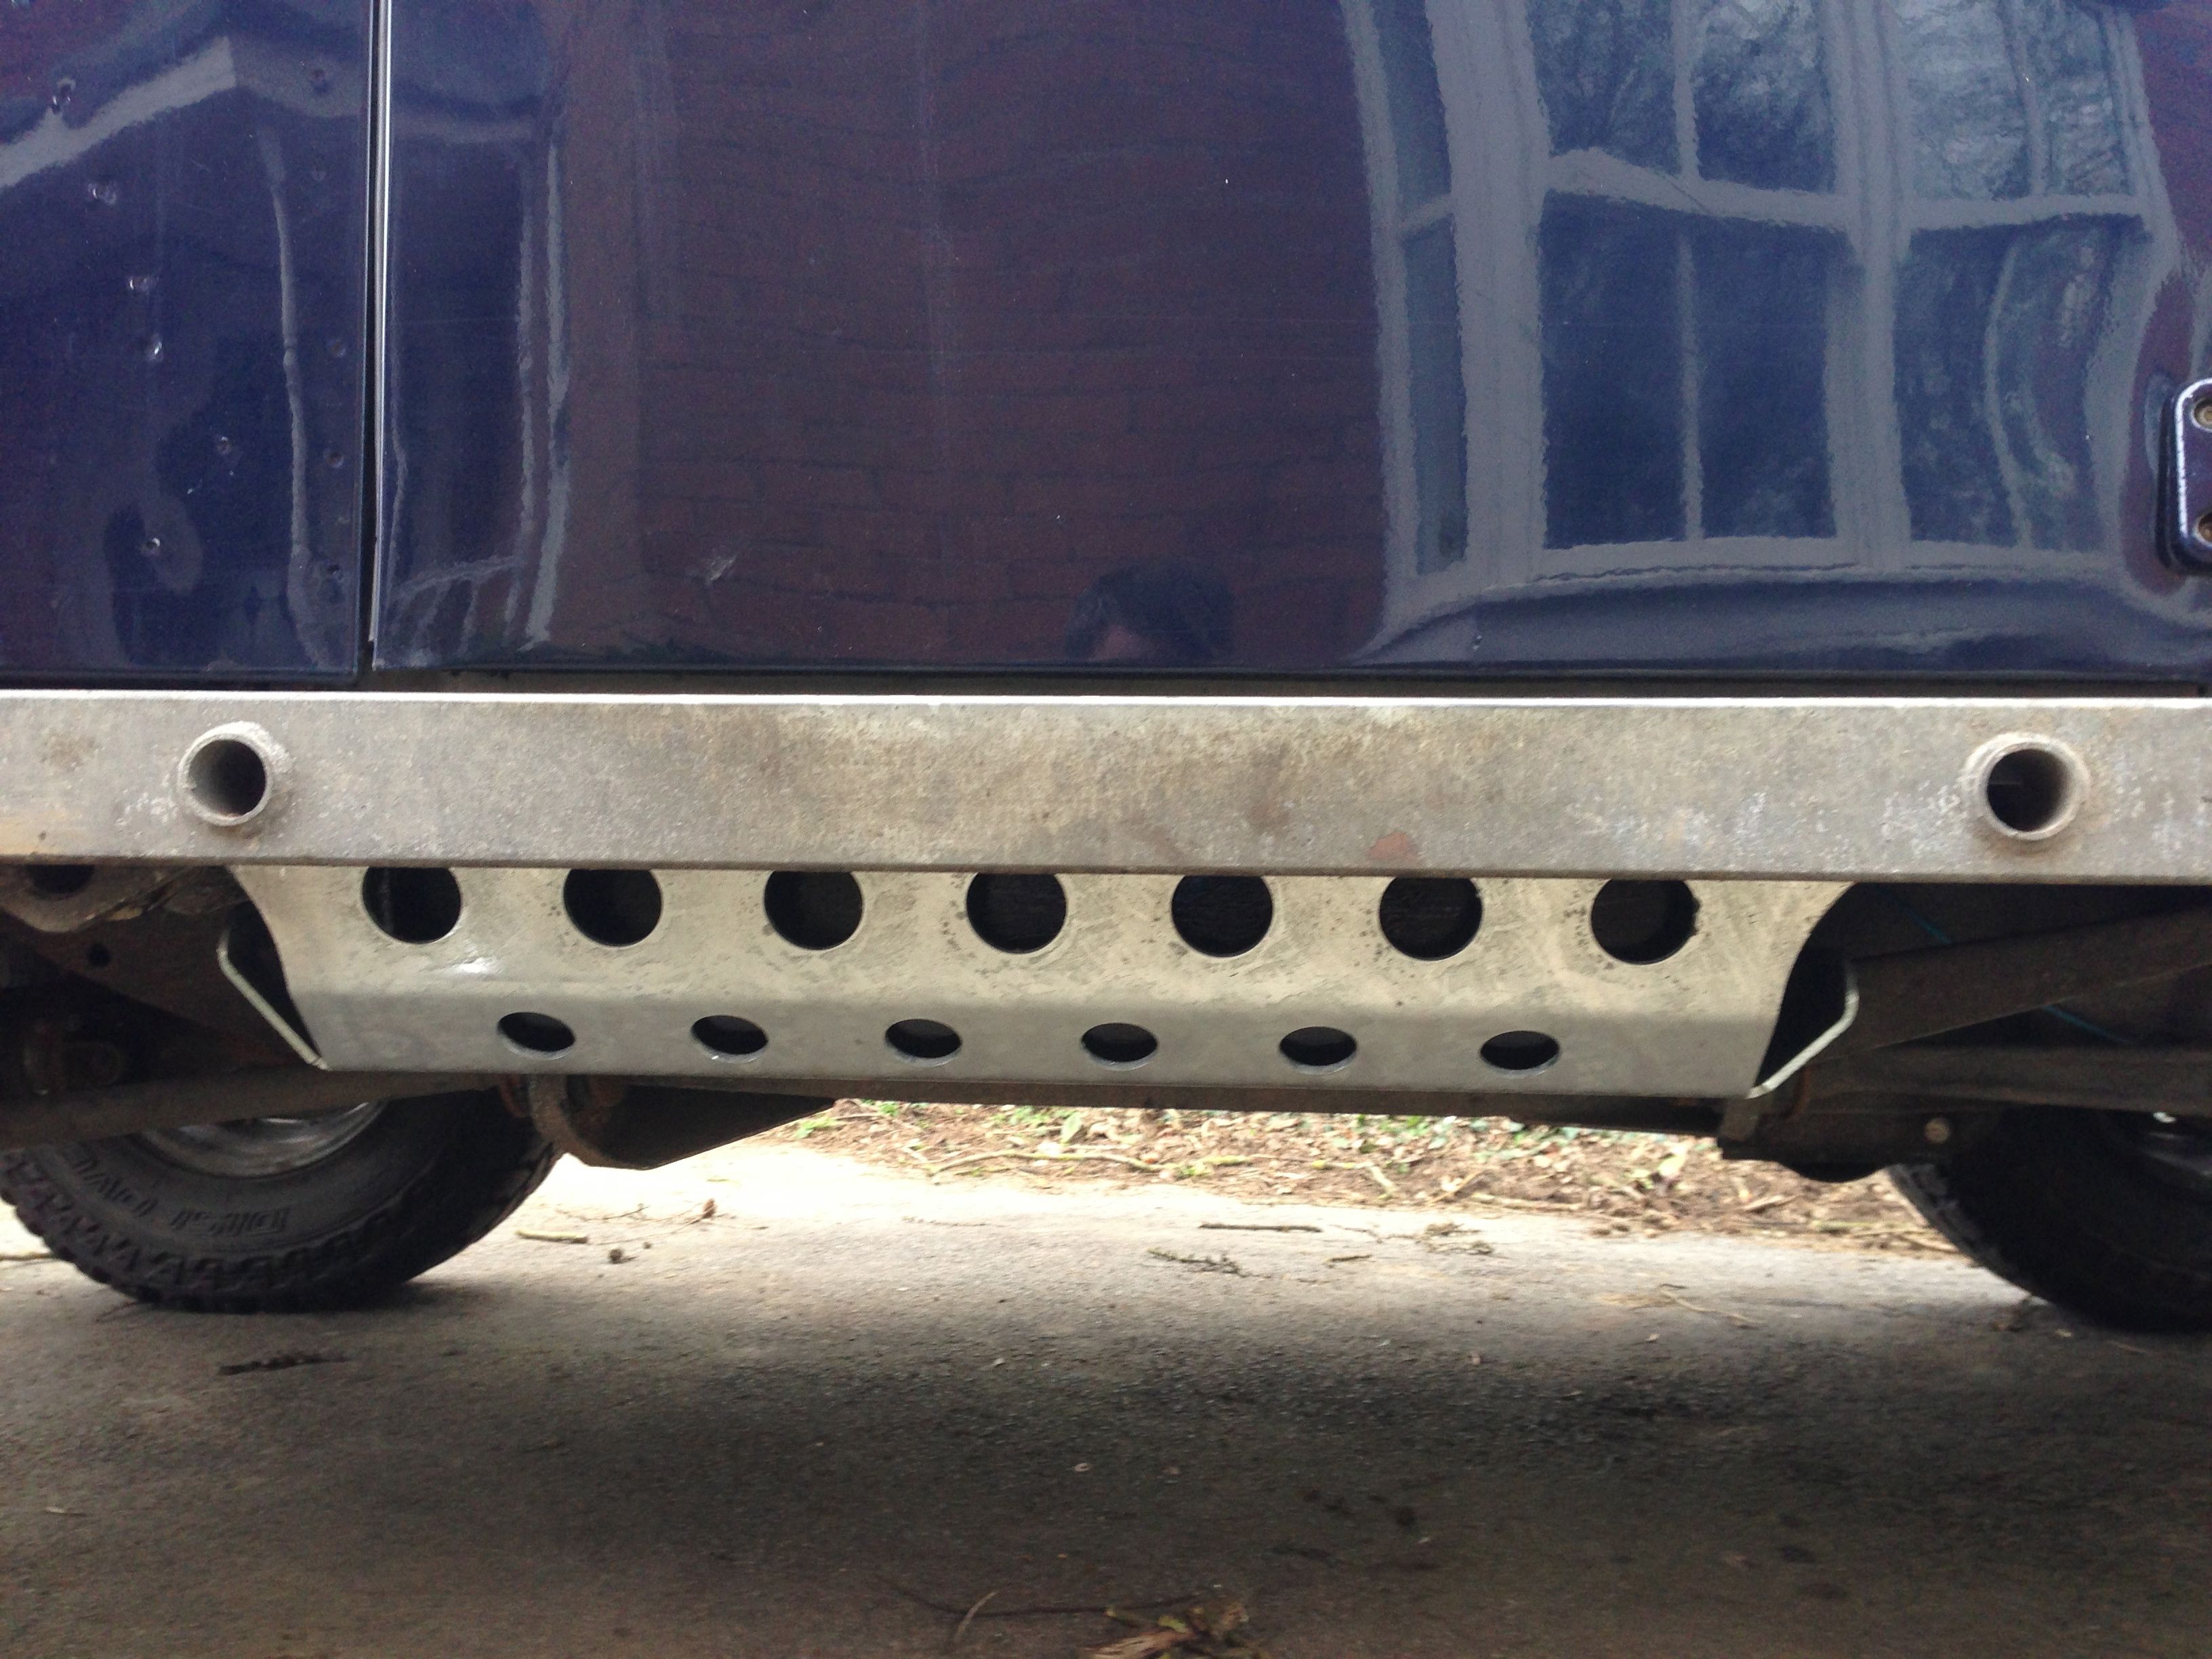
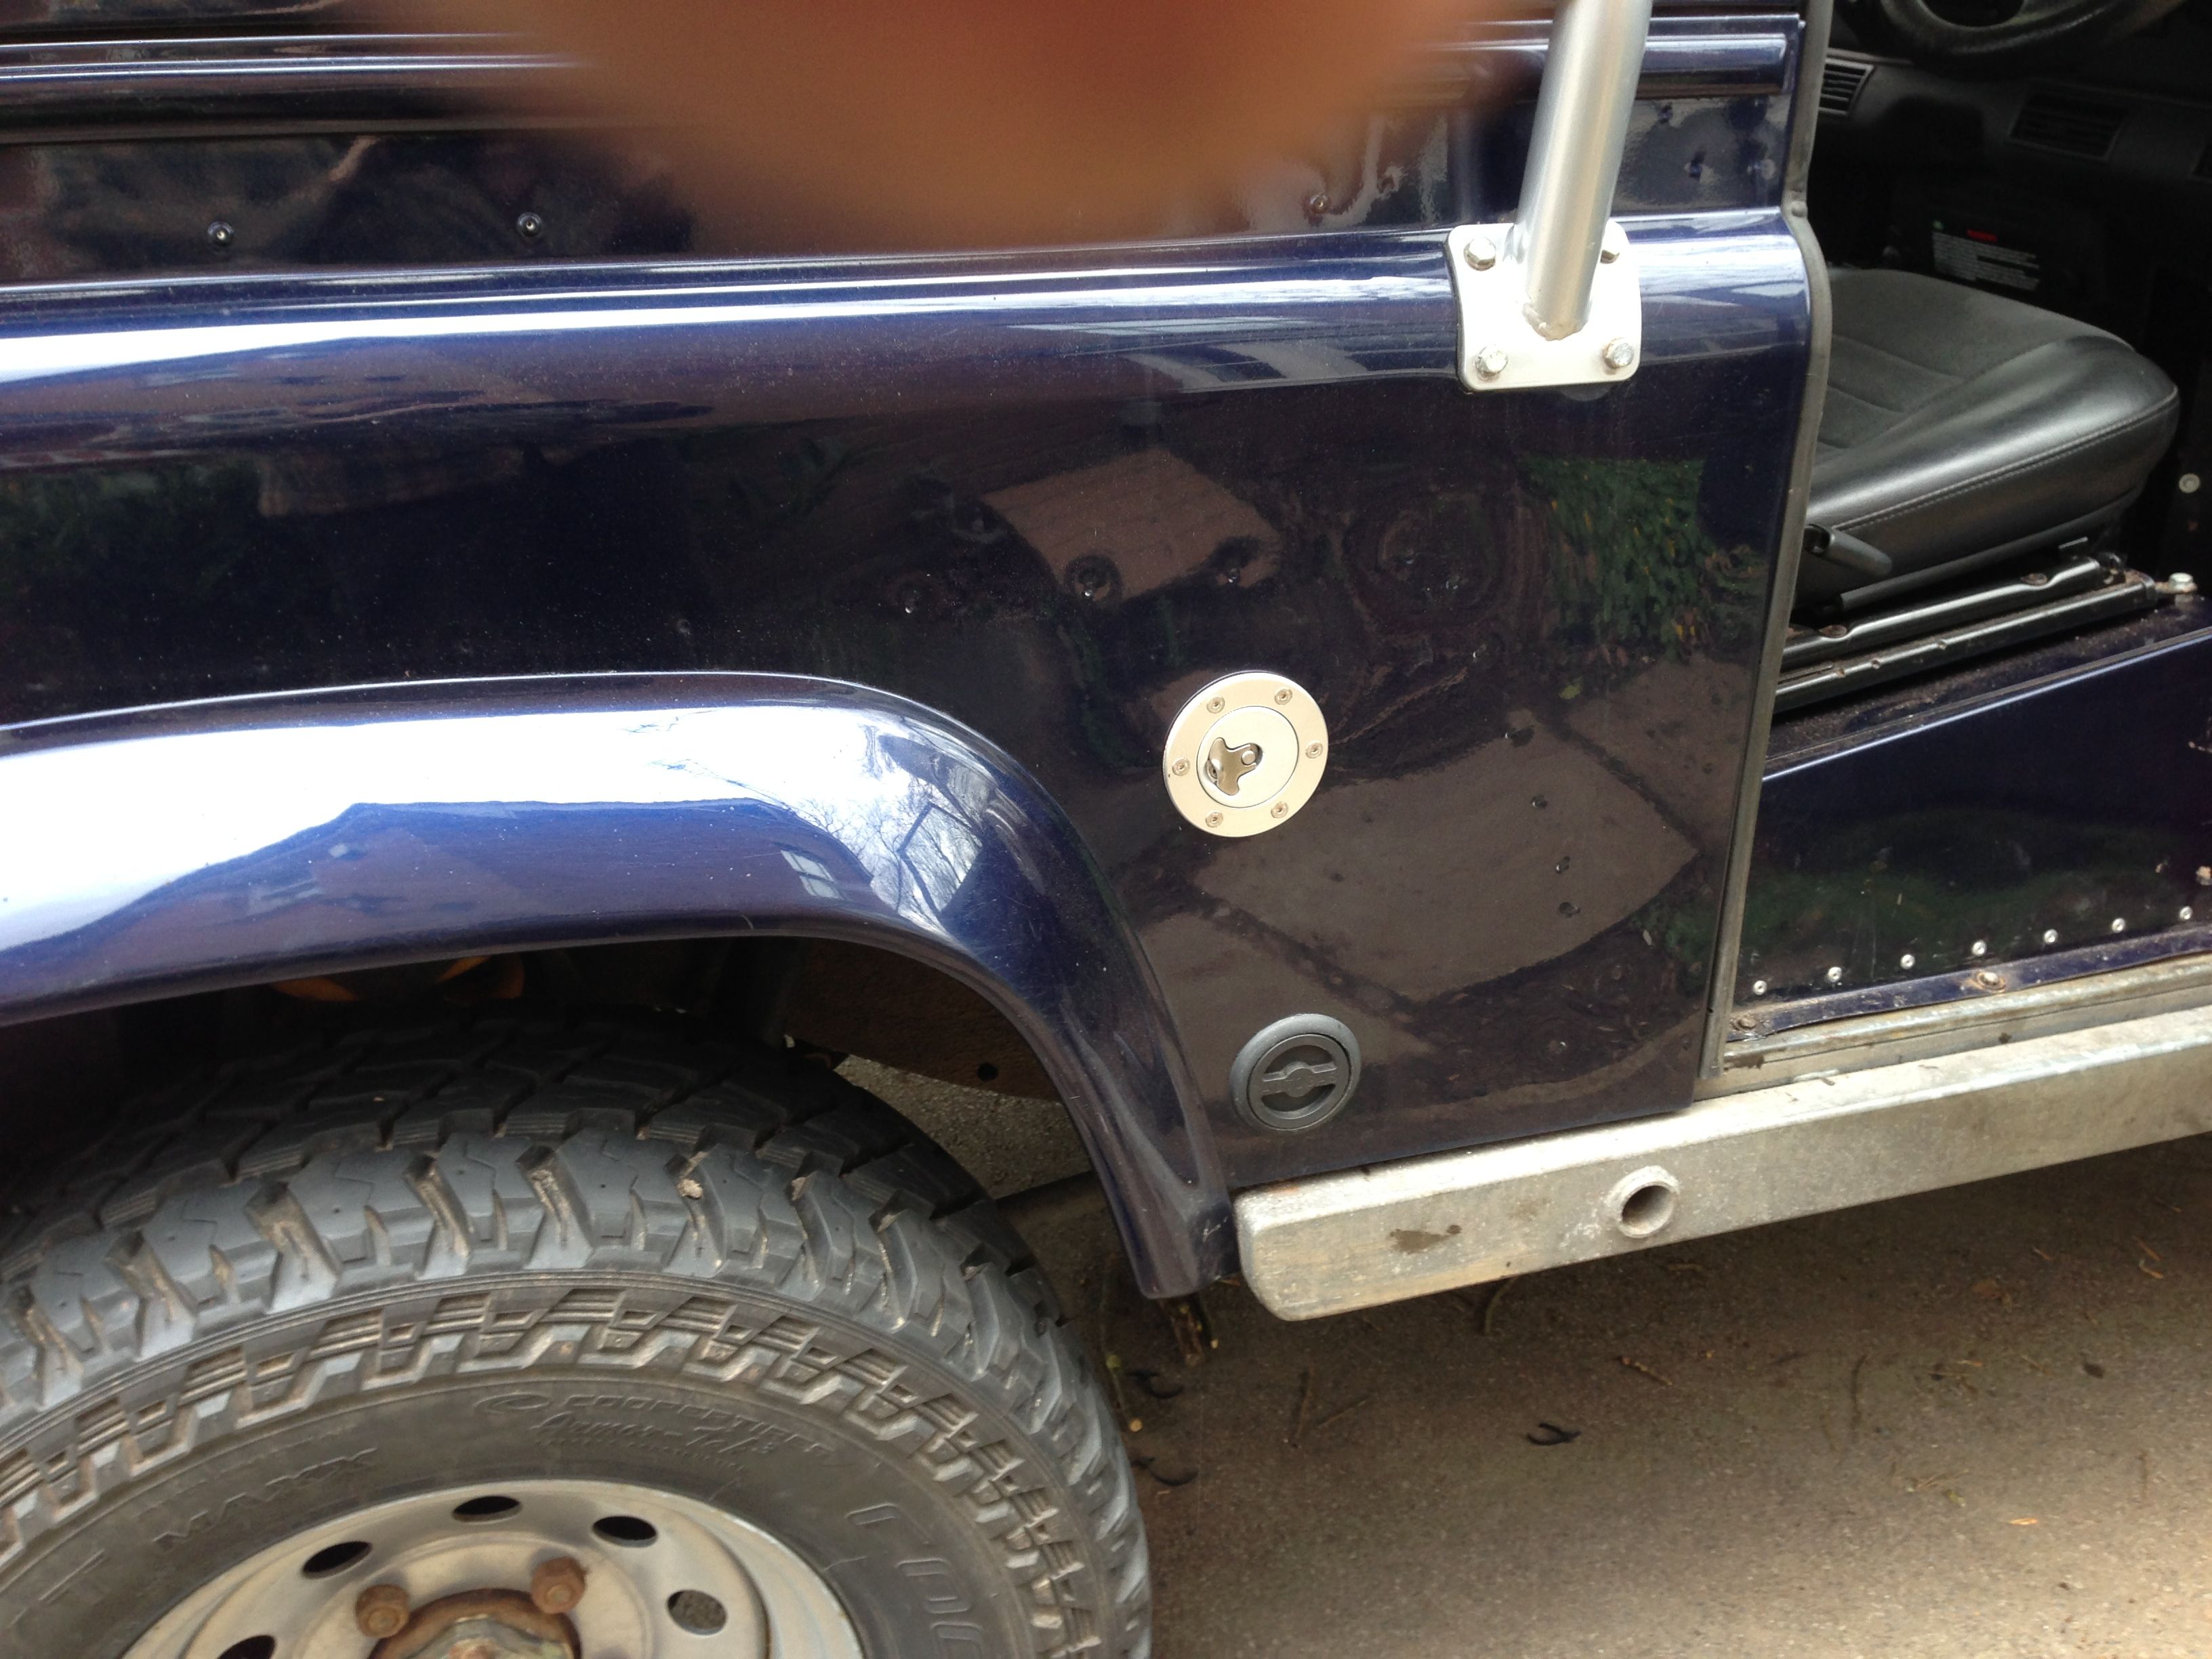
The extra fitting on the pickup plate is for the breather pipe and valve to be connected to as we’re not using a fuel cap with a breather.

To put some fuel into the auxiliary tank and do a basic leak test I decided to disconnect the return pipe from the changeover valve and connect it to the vent connector on the top of the tank. That way the pump would pump from the main (rear) tank, through the engine and into the auxiliary tank. What I hadn’t thought about was that pumping it in through the vent meant there was no where for the air to go… The tank and the filler pipework was all nicely pressurised and when I took the filler cap off it went with a loud pop 🙂 Not sure what pressure it had got up to but the metal tank had expanded ! Fortunately no harm done and, on the plus side, I know now that the custom pipework I made up for the filler is all air tight.

The changeover valve works well, changing the fuel gauge and the fuel pump/return simultaneously, controlled by a switch on the dash. With the engine running you can switch from one tank to the other without the engine missing a beat. The sender on the auxiliary tank seems to match the fuel gauge too giving a reasonably accurate picture of the fuel level.

More fuel capacity

Under seat fuel tank and guard finally fitted

Under seat fuel tank and guard finally fitted

The next stage of adding more fuel capacity is well under way now. In total we should end up with approximately 145 litres, around 32 gallons.

Now the ECU and associated wiring is out from underneath the driver’s seat the next step was to remove the under seat box. That in itself was pretty straight forward as it’s only held in by pop rivets, albeit around 30 of them ! Once they were all drilled out the box itself was easy to remove. I’d not realised until I removed it that the box also fills part of the seat box aperture so I needed to make an aluminium filler plate to close the gap. Fortunately I had some 2mm plate in the garage that was ideal for the job and it’s all closed up now and relatively water tight with the removable cover clipped in place.

New filler cap... and my thumb... :)

New filler cap… and my thumb… 🙂

The fuel pump was also mounted on the side of the ECU box so I had to make a bracket that attaches the fuel pump to the chassis. One immediate effect of that was that the fuel pump is a LOT quieter now it’s not bolted to a box that amplifies the sound.

Getting the fuel tank, the fuel tank guard and the sill bars all fitted at the same time took a lot of work. The tank guard mounting brackets are designed to connect to the same mounting points as the sill guards. This meant that the tank guard brackets all needed to be modified so they could all exist together without getting in each other’s way. the tank guard mounting bracket also seemed to be the wrong size to match up with the body so that had to be cut and welded. All in all just getting the tank guard fitted at the same time as the sill guard took the best part of two days work.

Under seat fuel filler pipe

Under seat fuel filler pipe

I then spent a day manufacturing the filler pipe that will allow the new tank to be filled using an aero style filler on the side of the back body. Hopefully I’ve got the angles and venting right so it’ll be easy to fill, nothing worse than a tank that has to be filled slowly or with the pump nozzle at strange angles to avoid the pump cutting out all the time.

The filler cap more or less had to be mounted where it is to get enough drop on the tank and be able to fit the pipework in, I’d have liked to get it aligned with the old LPG filler, in fact with hindsight I wish I’d mounted the LPG filler higher so I could have replaced it with the new one.

The pipe is made of 50mm stainless pipe and bends, cut and welded to fit. Hopefully the welds will be diesel tight, never easy to do with a MIG welder but I’m pretty confident I got it right… I’ll find out for sure when I fill the tank !

The next job is to re-plumb the fuel pump and pipework so it can work from either tank as well as having the ability, with a small amount of re-plumbing, to transfer fuel from one tank to the other.