Monthly Archives: October 2013

Hi-Lift Jack Mount – Part 1

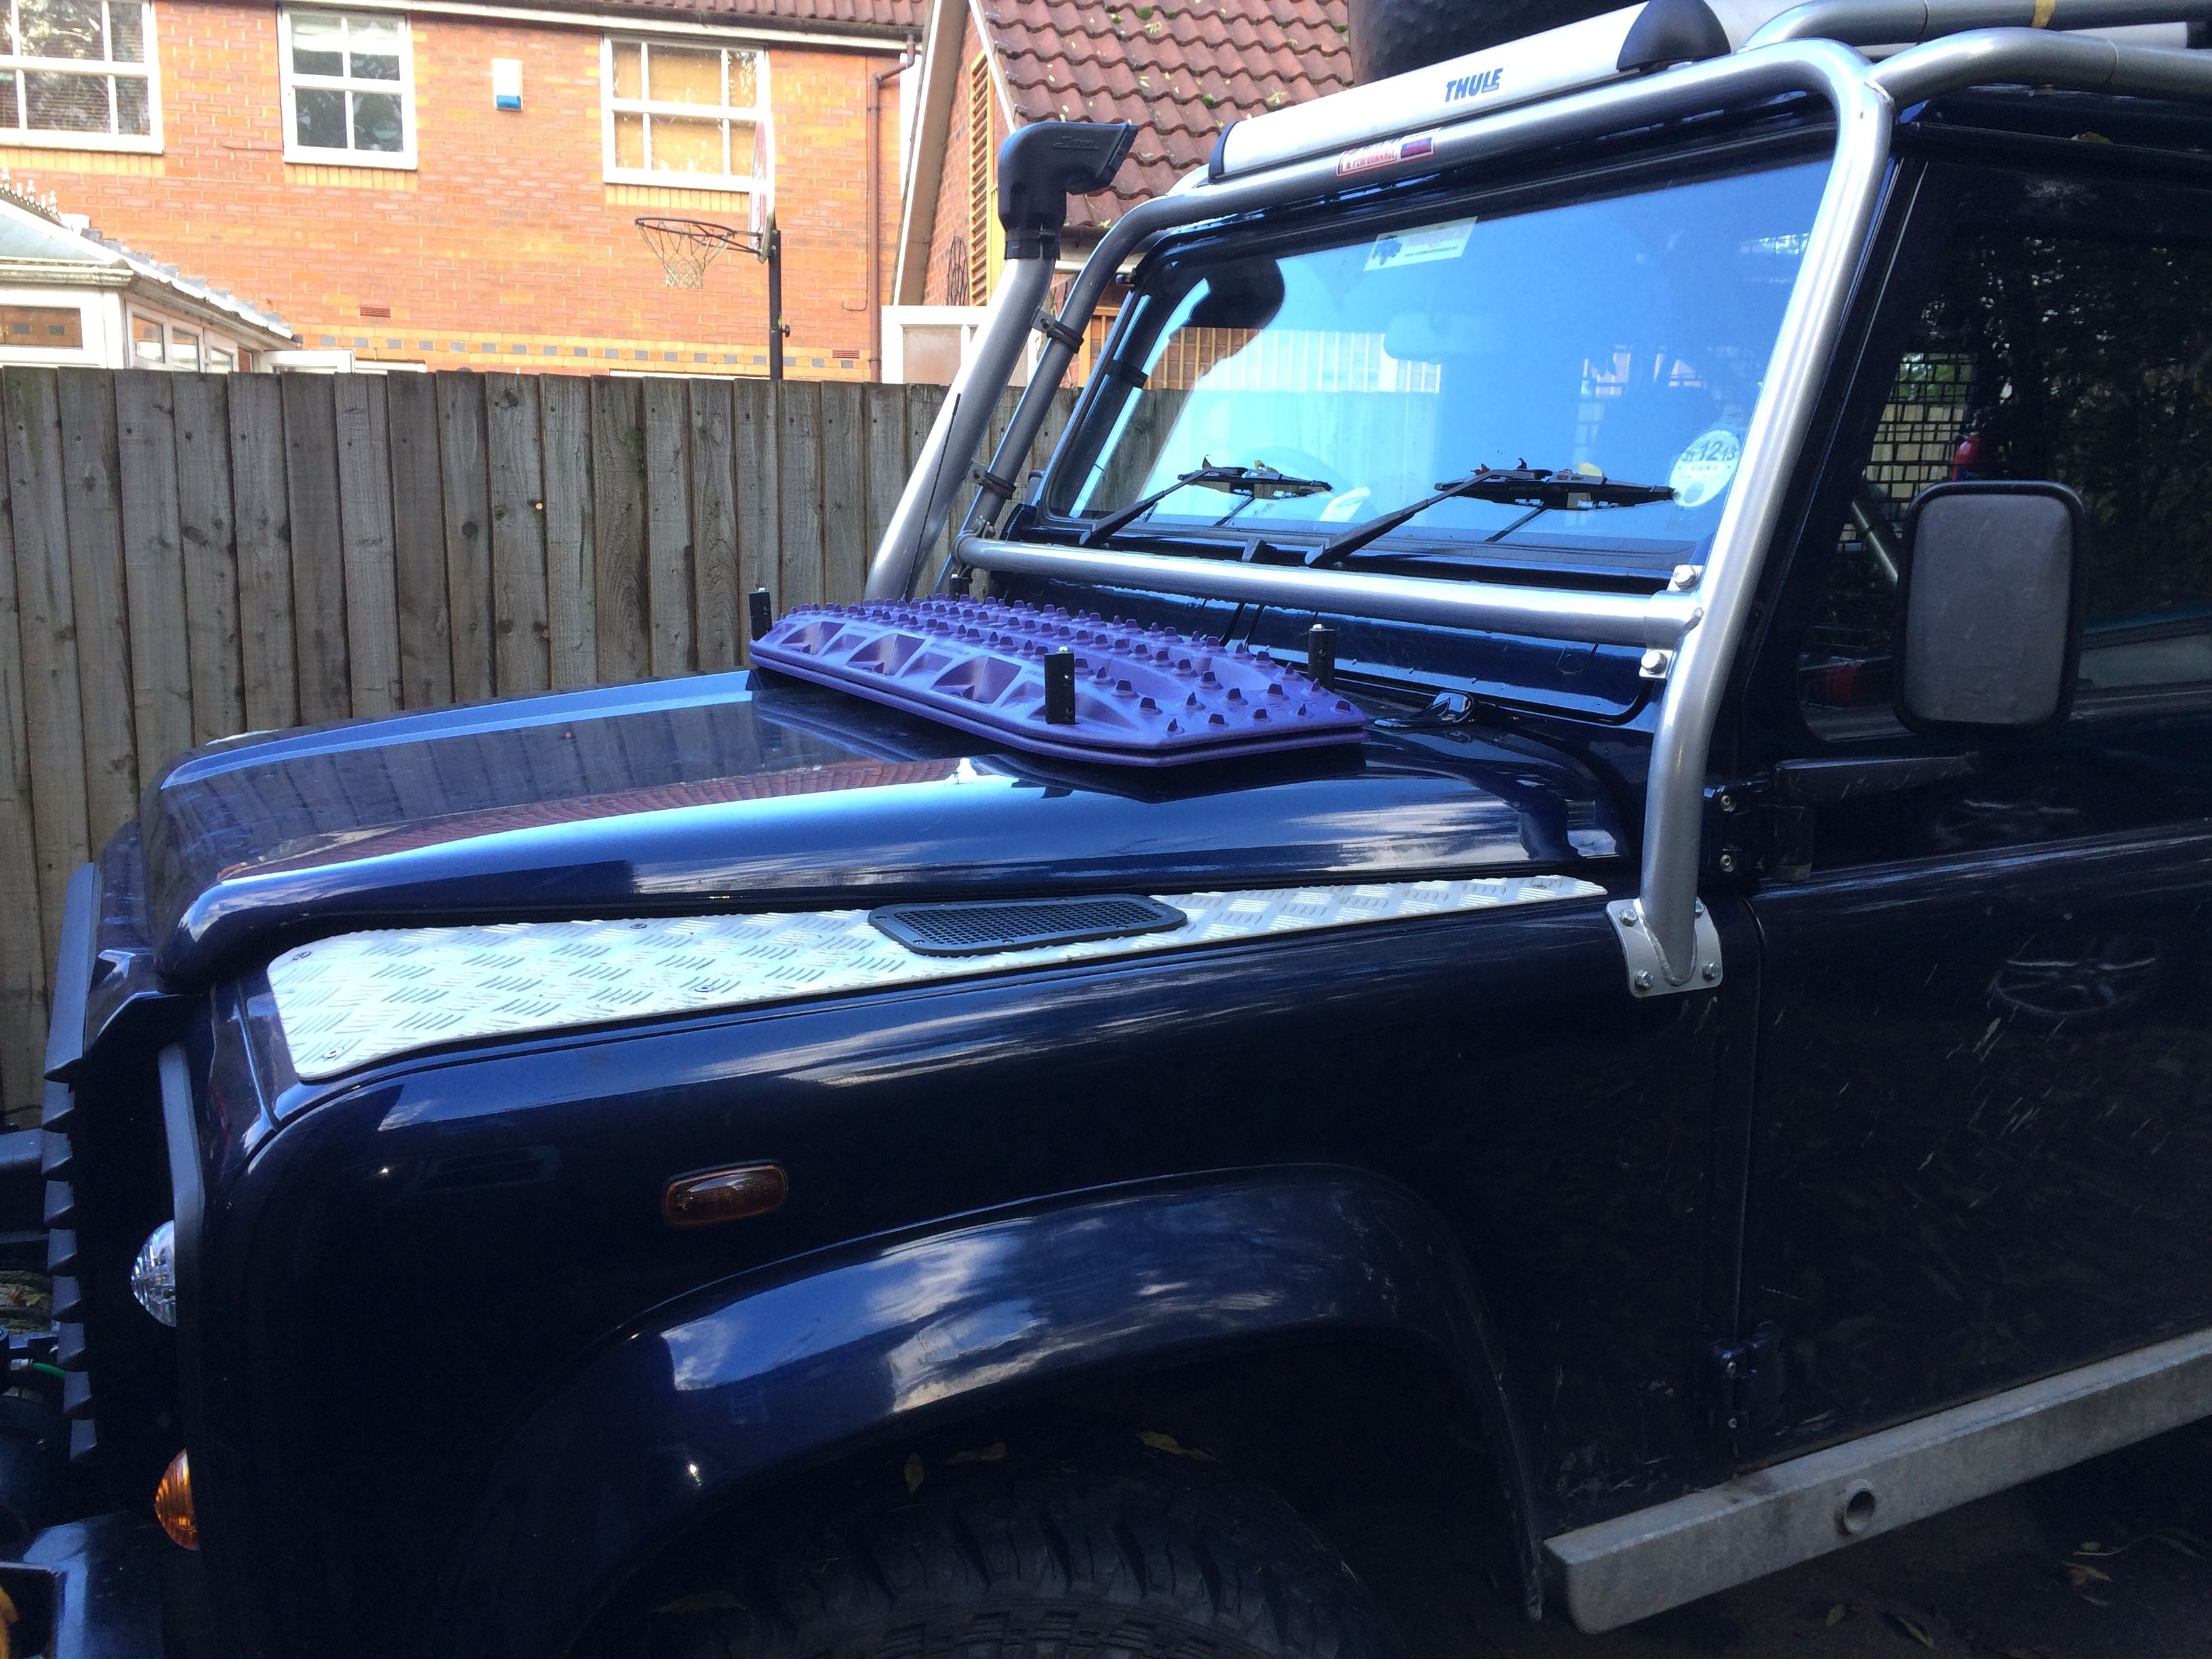
Spent most of today trying to figure out how to mount the Hi-Lift and starting to fabricate suitable brackets for it. We had hoped to modify some “off the shelf” brackets but, having ordered them from two different online suppliers and having both of them cancel the order due to lack of stock, I was left with no option but to start from scratch.

As with all fabrication jobs it took ages to figure out how I was going to secure the jack and then, with that determined, actually cutting and welding the steel to turn the idea into reality. By the end of the day I had the “foot” end bracket put together and working and a pretty good idea of how the “rack” end bracket will look and be attached to the roll cage, probably a few more hours though before it’s completed.

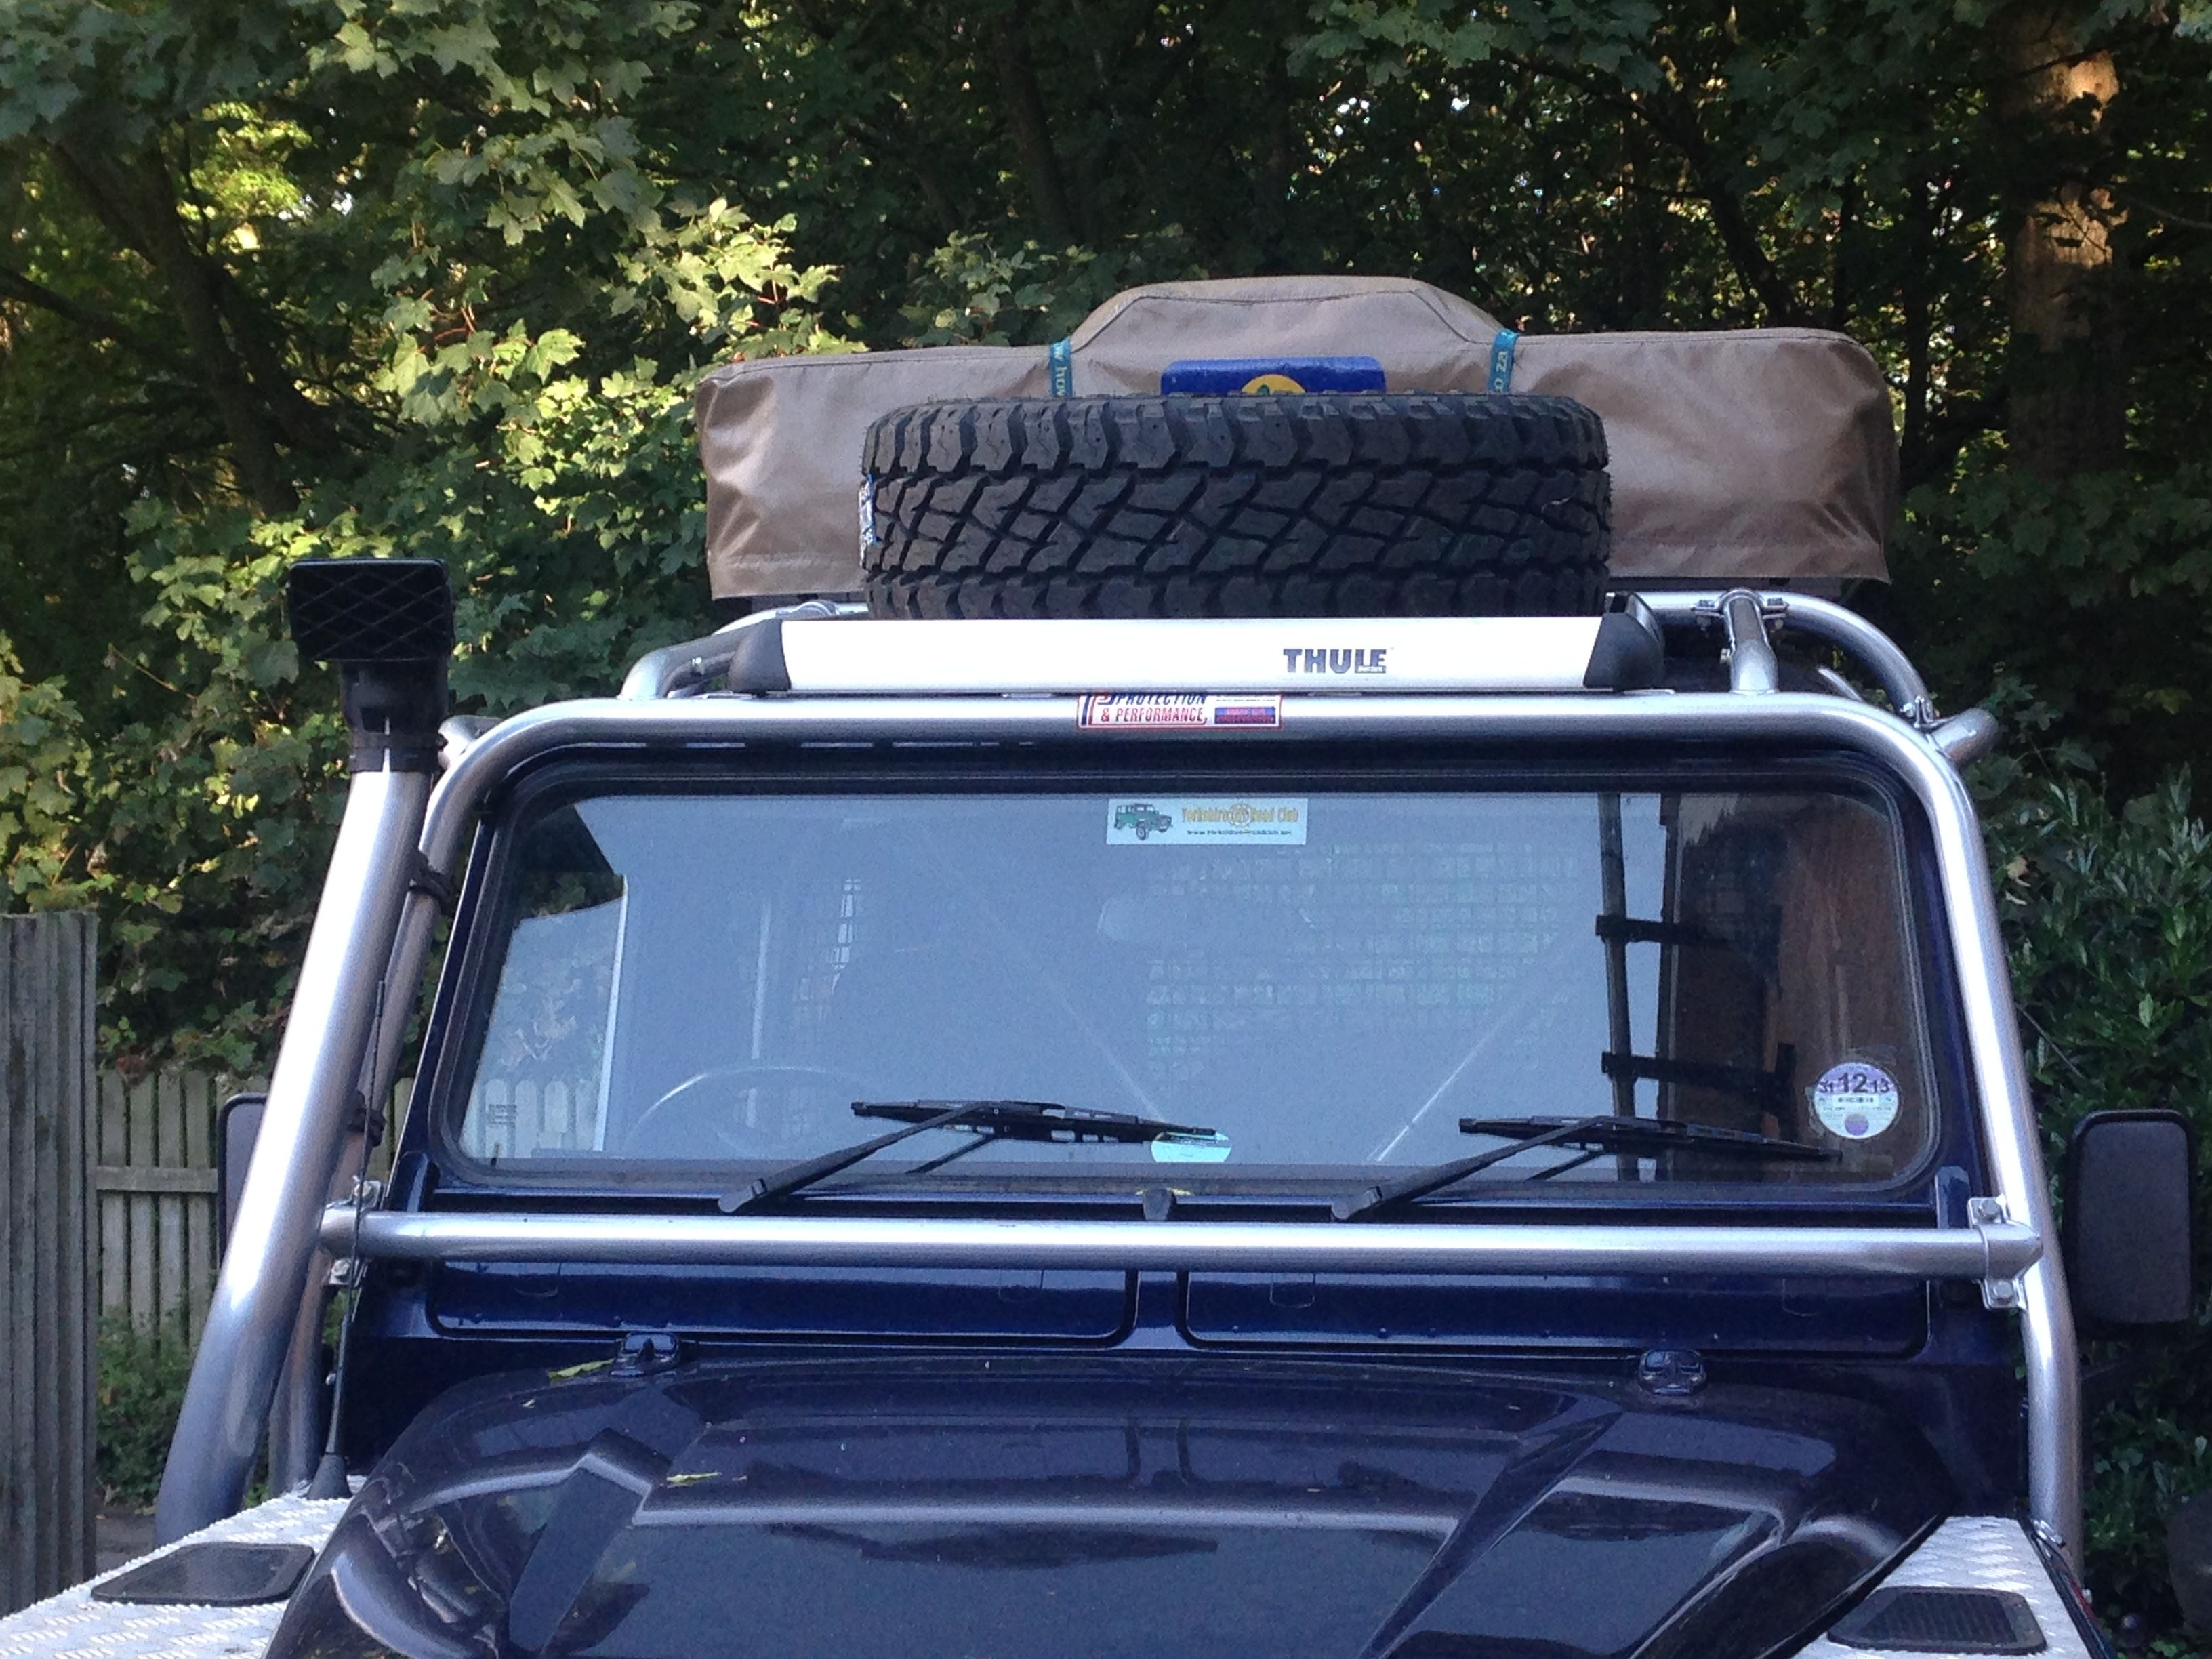
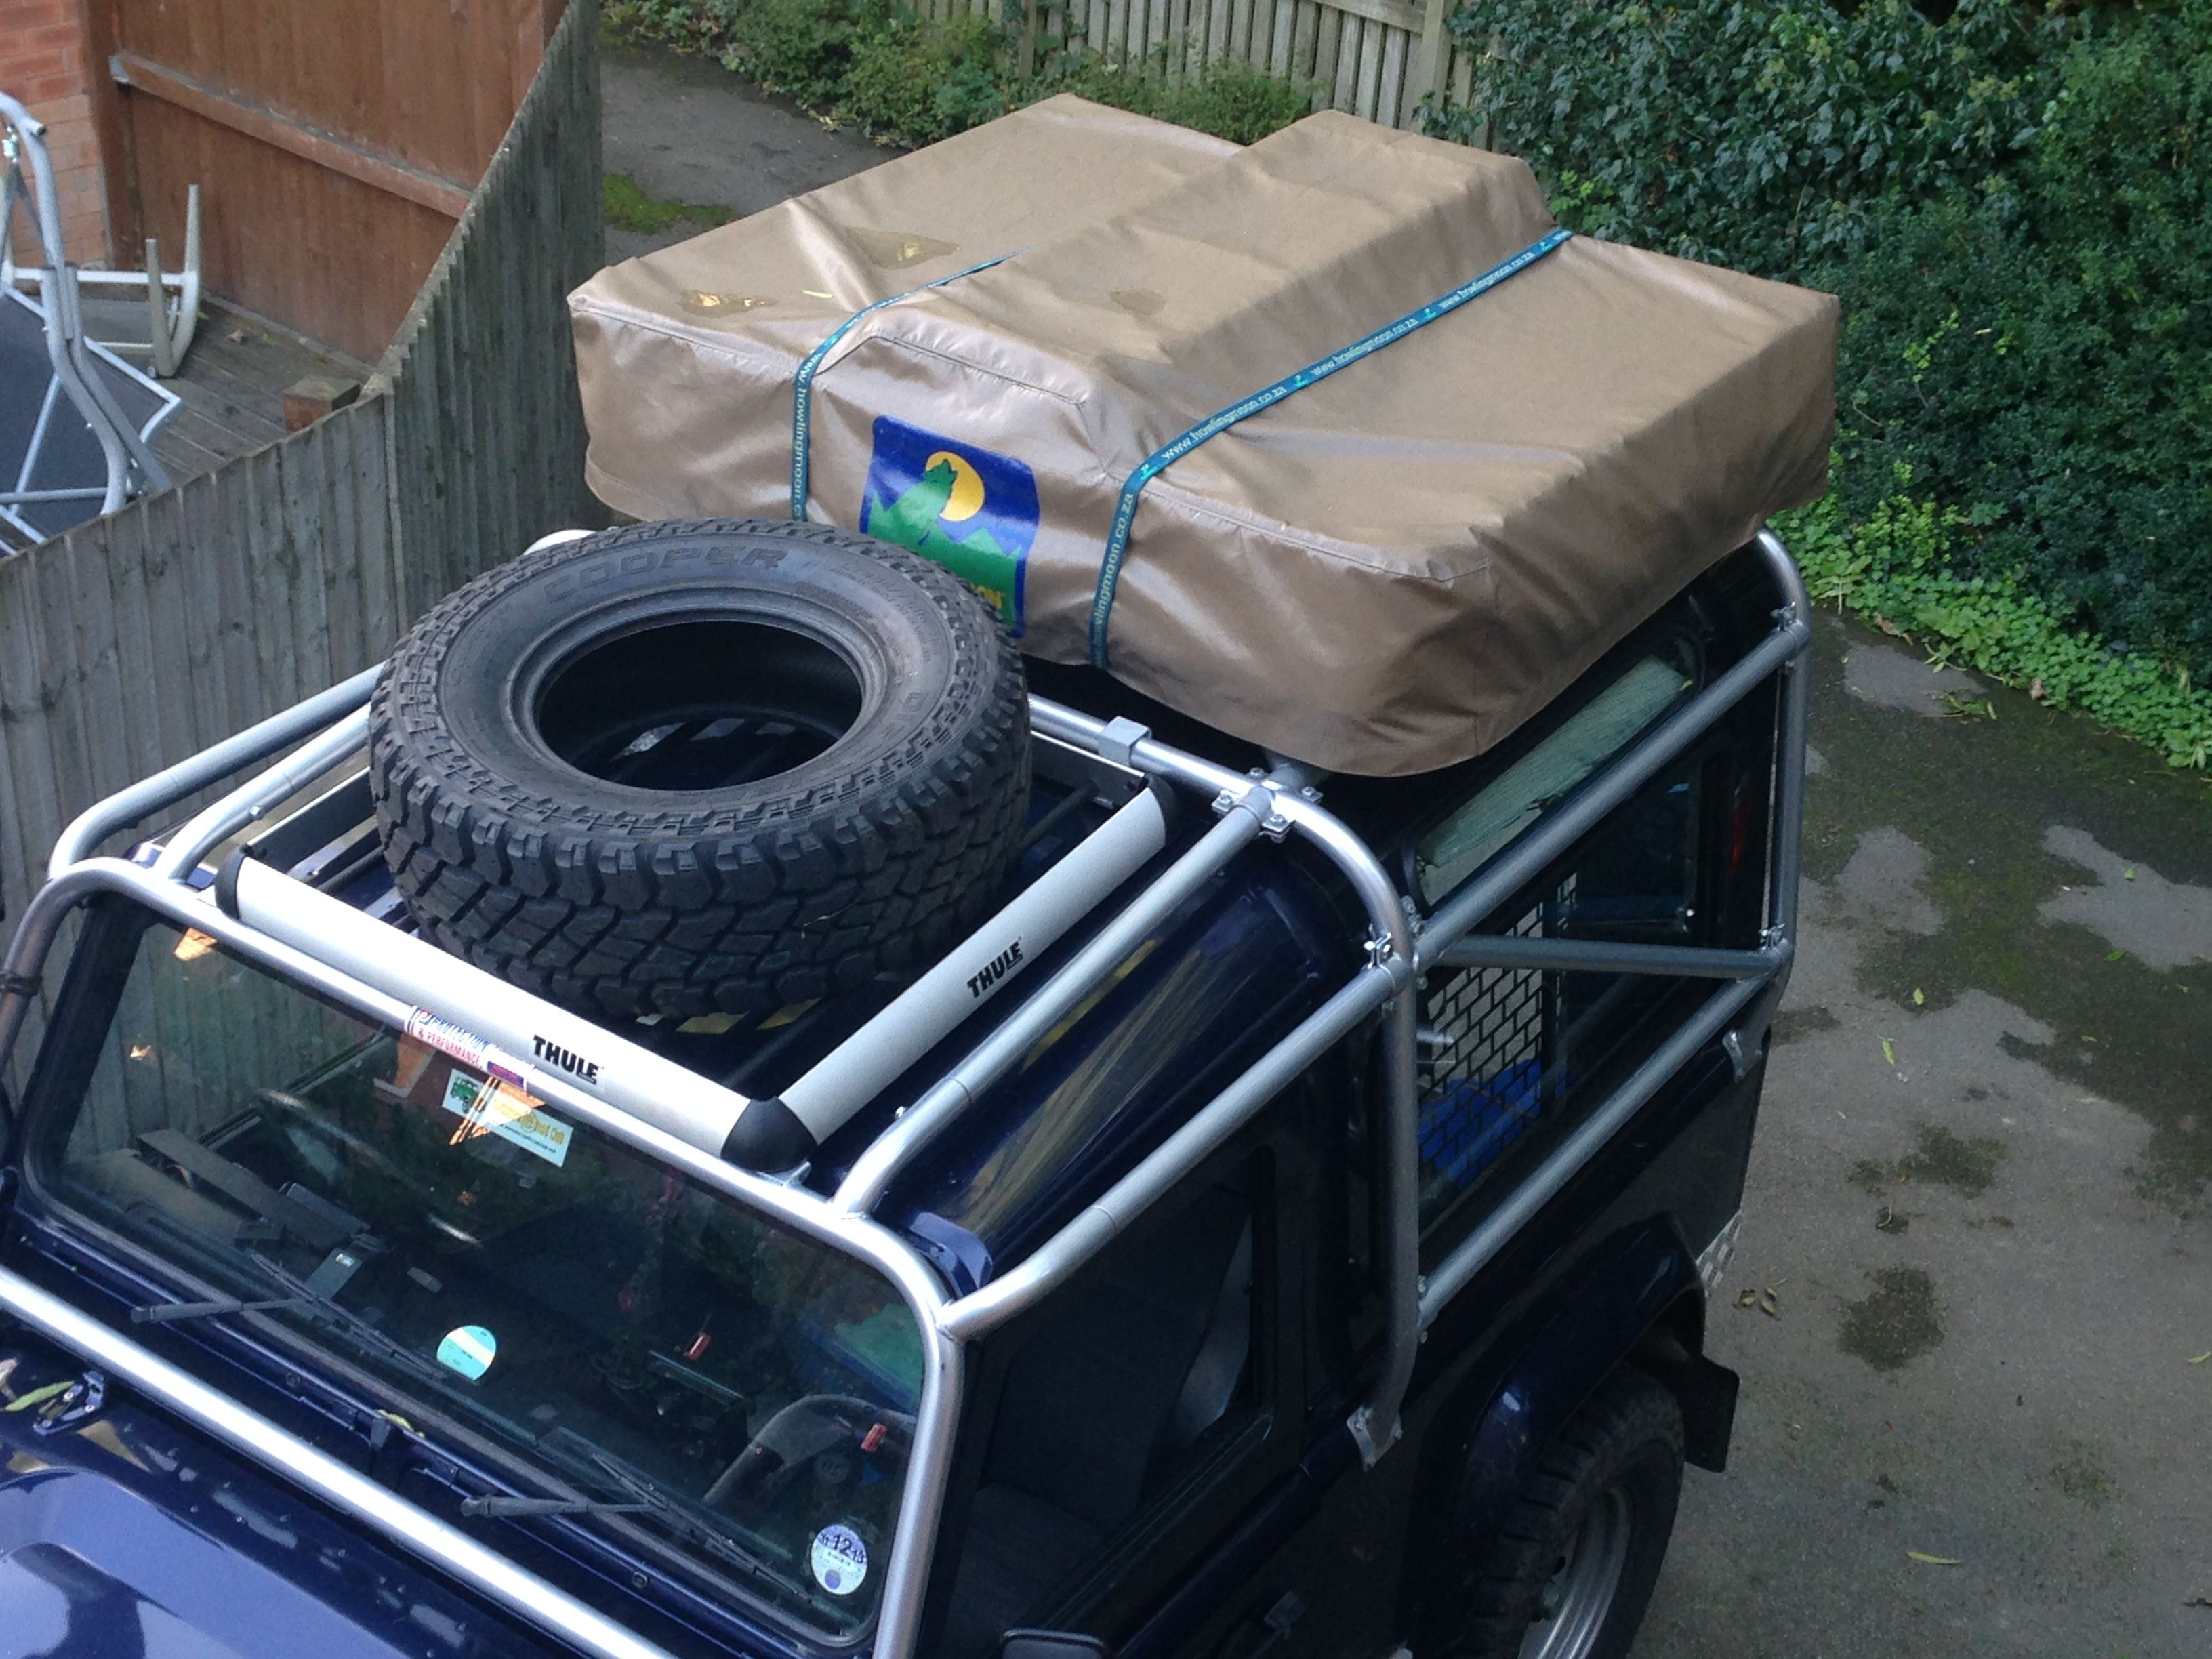
Having now mothballed the ground anchor idea and the whole “move the front winch to the rear” idea we’ve also bought a set of chains for the Hi-Lift so we can use it as a hand winch – only for use when all else has failed I suspect as it’ll be hard graft 🙂

Traction aids and tent away

MaxxTraxx Mounted on Bonnet

One of the restrictions that using a 90 places on us is a distinct lack of space to store stuff ! With the spare tyre on the roof (the only place that can go) the only place left for the MaxTrax boards to go is to mount them on the bonnet. I had toyed with hanging them on the sides, putting them on top of the spare tyre, putting them on top of the tent and so on but it didn’t really work.

The boards (there will be 4 of them, 2 shown in the pic) are a great aid for getting the vehicle moving, especially on soft sand, and as such they really need to be readily accessible when we do need them and quick and easy to stow again when we get moving. We bought a set of the official mounting pins for them from Australia (much cheaper than buying them in the UK and they were delivered within 3 working days – very impressed !). They hold the boards firmly and the boards don’t touch the bonnet at all. Obviously their position on the bonnet had to be carefully thought through – as far back as possible but far enough forward that the bonnet can be opened without fouling the roll cage !

We chose the purple boards as the colour kind of blends in with the pearlescent blue of the 90 which tends to take on a purple sheen in sunlight.

Last job on Saturday was to remove the roof tent for the final time before it goes in the container and with gale force winds forecast for Sunday and Sunday night the last thing we need right now is to have a tree land on it ! It’s currently sat in the living room, opened up, so we can clean it out thoroughly and give it a final check before packing it for shipping.

Intercooler Upgrade

Original TD5 Intercooler

Original TD5 Intercooler

After much procrastination we finally decided to get an intercooler upgrade a month or so ago. Due to the auto box oil cooler we had to get a custom one made rather than an off the shelf item which has led to time delays but it finally arrived this week. So my first job on Saturday morning was to get on and fit it…

The new intercooler from Ali Sport wasn’t a completely straight forward fit (when is it ever !) and I ended up having to grind away part of the near side bracket that holds the intercooler and modify the slam panel and anti-burst catch.

The mounting bracket was just touching part of the side tank and, although it would kind of fit, over time the two parts would have rubbed together and probably made a hole in the side tank.  To make sure I got the angle grinder out and reshaped the bracket to give more clearance.

Uprated Ali Sport intercooler

Uprated Ali Sport intercooler

With that done I then put everything back together and found that when I closed the bonnet the anti-burst catch was hitting the top of the intercooler, preventing it from closing. By bending the guide in the slam panel and some adjustment of the pin plate and the catch itself I eventually managed to get the bonnet to shut with the catch missing the intercooler.

A road test showed a noticeable difference in torque with the 90 pulling up the hills without the need to kick down or losing speed. So far we’ve both been impressed by the difference it’s made to the way it drives, probably should have done it ages ago !

New Propshafts

Fuel and Battery Gauge on DashBoth the front and rear propshafts have been on the “hit list” for a while due to the amount of play in the splines. On my competition motor I fitted a Bailey Morris heavy duty prop shaft after snapping a rear one and decided it was worth the extra money for the quality of the splines and the larger UJs so decided to go the same way with the 90. 2 propshafts along with 2 spare UJs for the spares kit arrived last week.

So, I ticked off a few jobs in the end this weekend – I added a foam rubber strip between the tyre rack and the roll cage at the front as it was whistling quite loudly above 40mph, all quiet now. I also fitted both new propshafts, fitted a new steering damper with relocation bracket to the steering drag link – removing the one from the track rod. In an effort to fix the annoying slight oil leak from somewhere around the transfer box I took the bottom plate off it and resealed it while changing the oil. I had a play with a number of ideas to try and mount the ground anchor somewhere and decided in the end it really is too cumbersome to fit in a 90 !

Sunday was spent doing a final fit and gauge calibration for the infamous battery and fuel monitor, in the afternoon we took it for a long run out to make sure the props and steering felt good and that the fuel gauge and fuel consumption was something like. All seemed good, the new propshafts have fixed the vibration we were getting on overrun, the steering wobble is completely gone and the spare tyre rack was quiet at all speeds 🙂

Just to prove that the battery/fuel gauge thing is actually fitted and working at last I even took a picture of it ! It sits quite neatly above the normal centre dash switches…

Working through the list…

With the impending “container day” now a fixed point on the horizon we’re working our way through the list of all the things we want to get done before then. The fuel/battery monitor is still a work in progress but in the final stages now at least. There is still a fairly long list of items other than that and, while the weather is good, I’m trying to make the most of it by getting some of the “outside” jobs done.

IMG_0389 Roof basketAs fabrication jobs ALWAYS take ages to do I chose the biggest (I think !) remaining job to do first. We want to carry the second spare tyre (not mounted on a wheel) on the roof. We did try it on the bonnet but the amount it reduced visibility was unacceptable. To support the tyre and to allow other light items to be stored up there too we bought a small Thule roof basket. This sits just nicely in the front section of the roll cage. Mounting it meant making up some custom brackets to allow it to be bolted to the cage and it also needed a cutout adding at the back as the tyre is about 20mm too big to sit in the unmodified basket. It took a couple of days thinking, cutting, fabricating brackets, rethinking the design when it didn’t quite work etc… ! Anyway, the finished product isn’t going anywhere and also makes it easier to climb around on the roof as a bonus. We’ll put a vinyl wheel cover over the tyre and store some of the lighter spares inside the tyre – spare coolant hoses etc…

Having read through all the rules/regulation regarding shipping vehicles with air conditioning we’ve come to the conclusion that the various cons of the air conditioning outweigh the benefits so I’ve removed the air con components and pipes apart from the compressor. The extra leg room will be a benefit and the reduction in complexity when working on the cooling system and so on will make life simpler. We might replace the compressor with an idler pulley although I might have time to convert it into an air compressor as an alternative to the ARB for pumping up tyres etc… We’re not anticipating encountering stupidly high ambient temperatures with the route we have roughly planned out and if we do… well we’ll just have to suck it up 🙂

I finally got around to replacing the windscreen hinges and the door hinges too – the windscreen hinges were badly corroded and looked a mess, the door hinges – especially the driver’s door – had a lot of play in them and I’d previously had to adjust the striker to compensate.