Plan A – ECU and fuse box position behind driver’s seat. A nice idea but no way the looms will reach.
Having quite a few days holiday left to book before April and intending to head up to the Muddy Truckers Trophy at the end of the month, I’ve booked quite a few days off this month with the intention of spending a lot of them working on the 90.
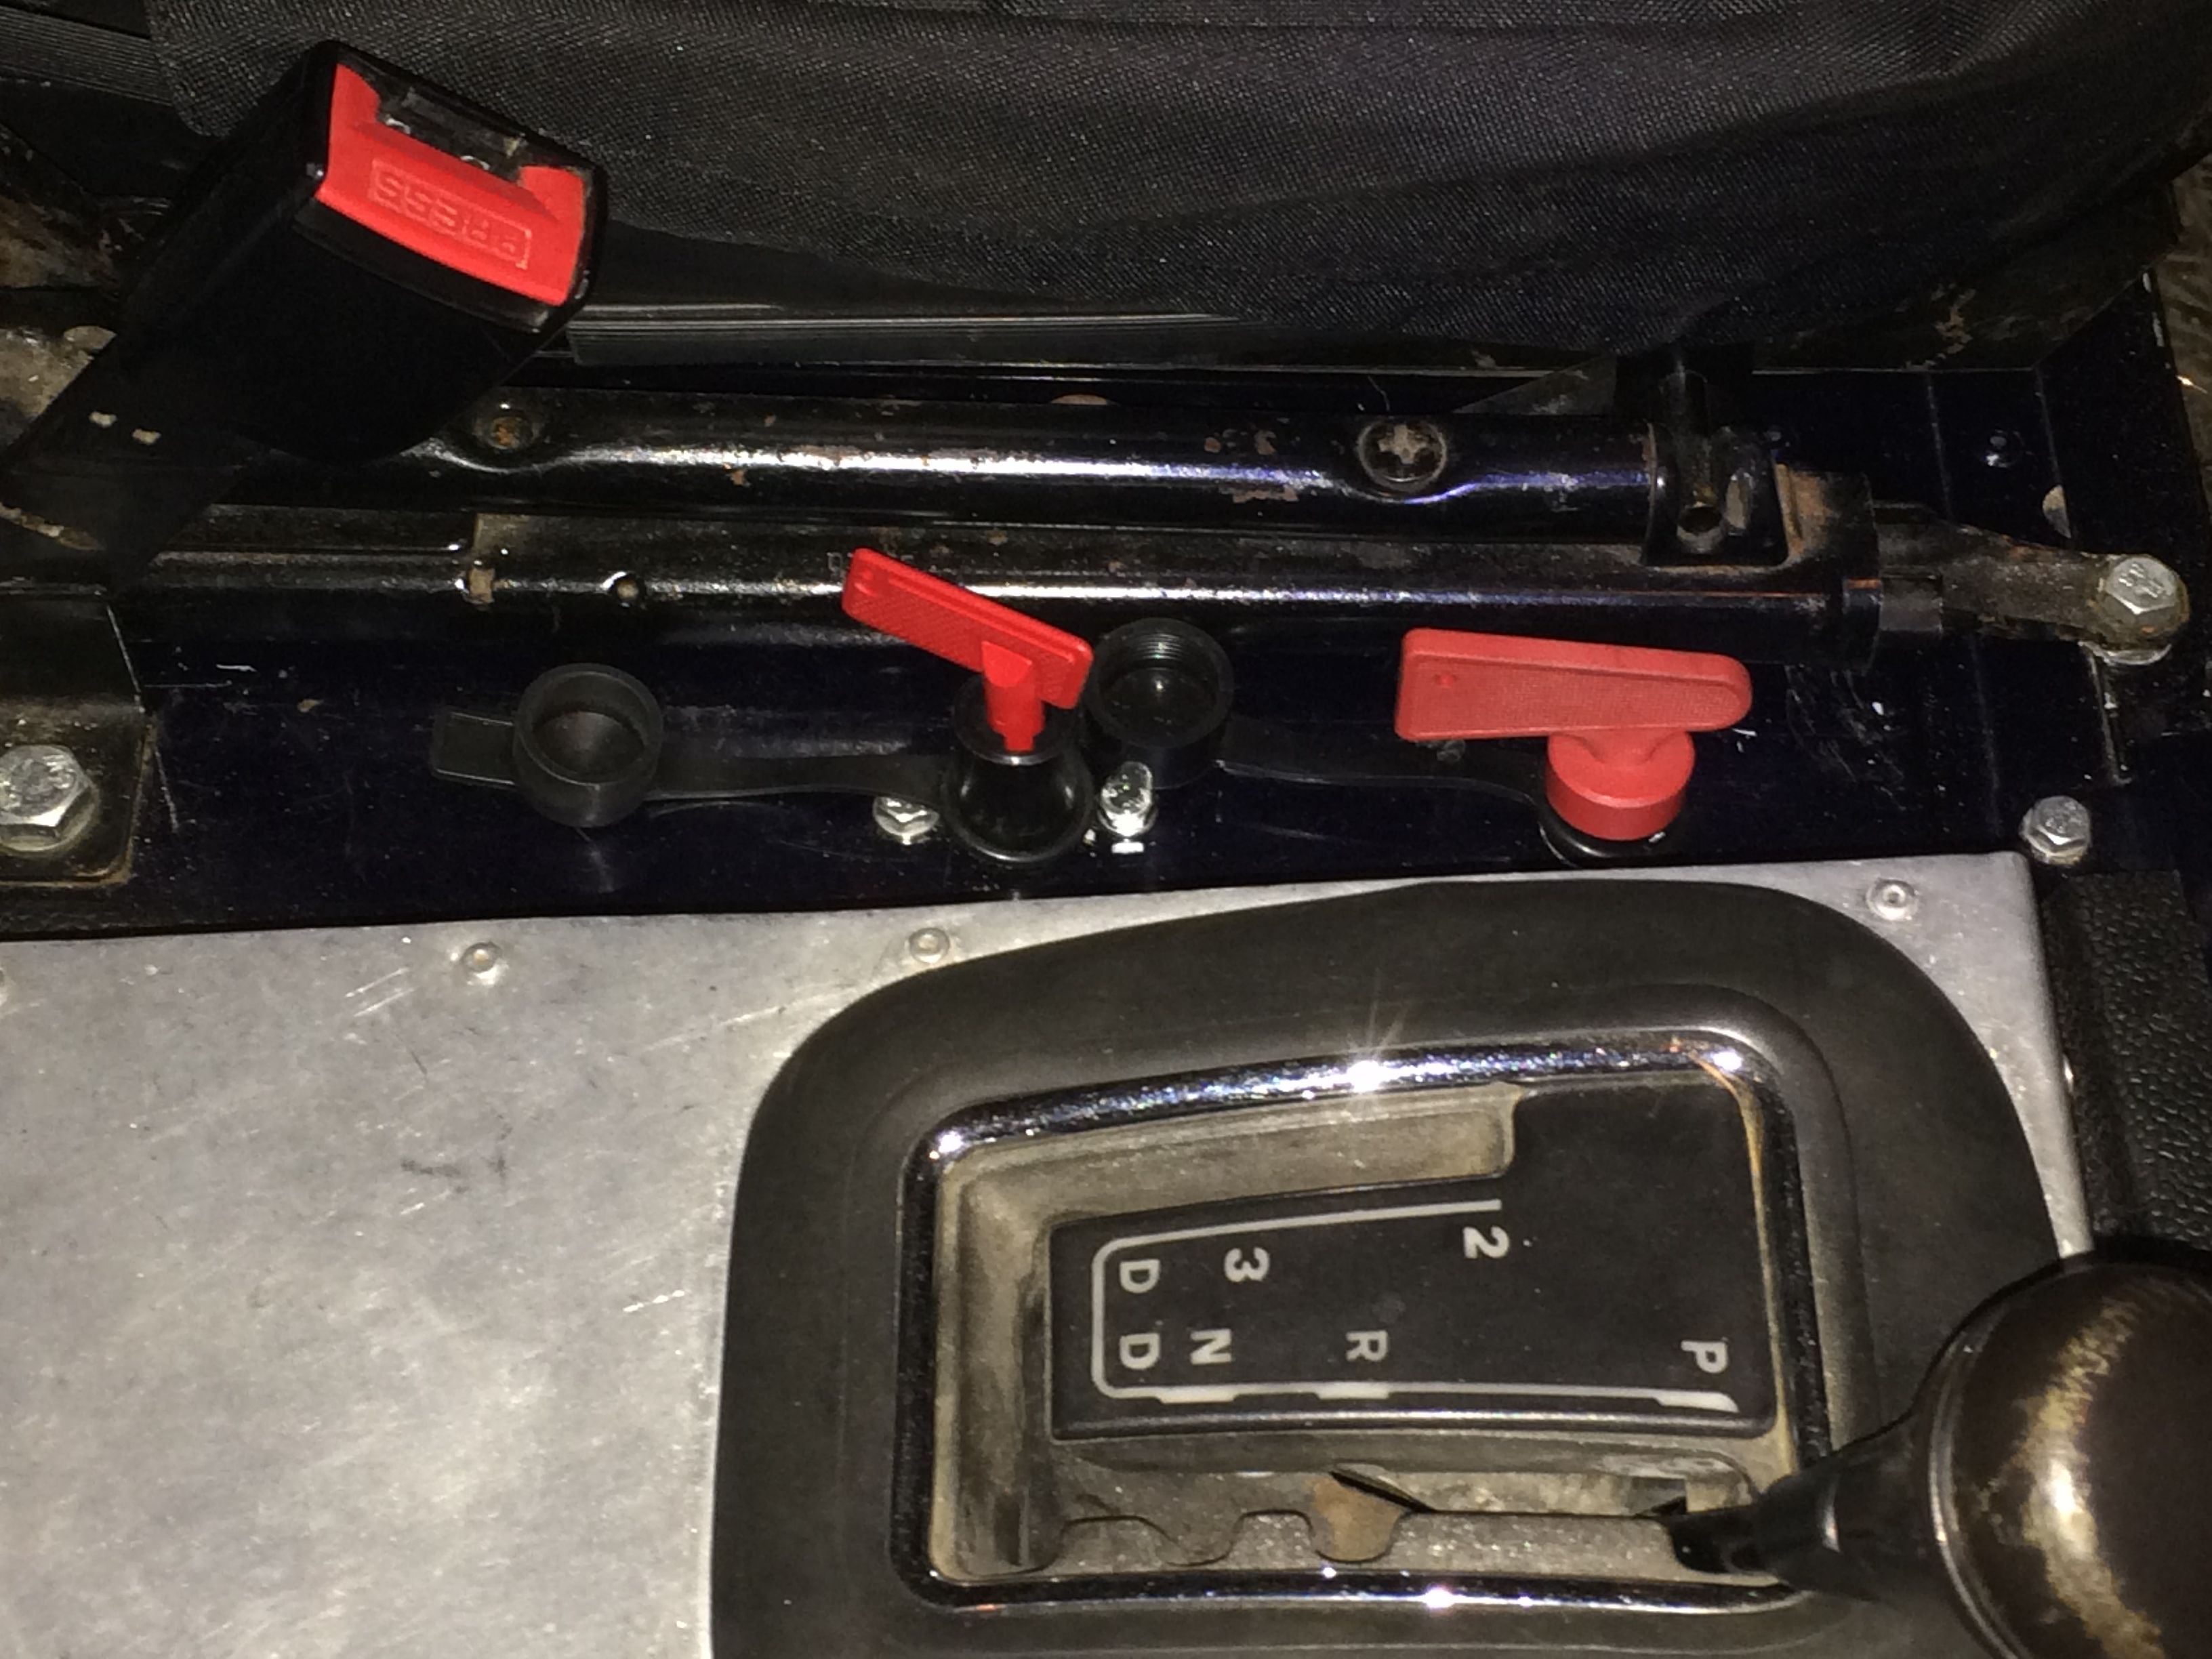
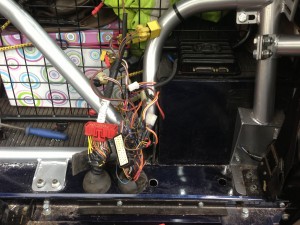
The first job on the list was to clear the underseat box where the engineECU, gearbox ECU and fuse box are located. There are a LOT of wires under there with the 2 big vehicle wiring looms and the gearbox loom.
The initial plan was to try and move everything behind the driver’s seat, if necessary extending the looms although, if possible, I wanted to avoid that. After disconnecting all the wiring and tracing it’s route it became increasingly clear that moving everything behind the driver’s seat would be a much bigger job than moving everything behind the passengers seat. The trouble was that I’d also mounted the aux fuse box and ARB compressor behind the passenger’s seat.
So, the plan got a lot more complicated as I ended up having to move the aux fuse box and ARB compressor to the driver’s side to make room for the engine ECU etc… The good news was that the route of the main and engine looms meant that both looms would be long enough to reach without modification/extending although a few wires would have to be extended such as the diff lock and high low switch wires but that’s no problem.
Plan B – Main two looms relocated behind passenger seat – gearbox ECU on top of wheel arch.
Having checked the lengths of the looms and made sure I got them the correct way round, the first step was to drill the holes for the two looms to come through the floor having removed the aux fuse box and the ARB compressor. On mine this was limited by the length of the bulkhead loom so that was the important one to get right. Once that was in the engine loom hole went in alongside it.
I took the opportunity to tidy up the gearbox ECU wiring too, shortening the loom to length. When it had been mounted under the seat it didn’t really matter too much how much wire was floating about so I just used the whole loom as supplied with the ECU.
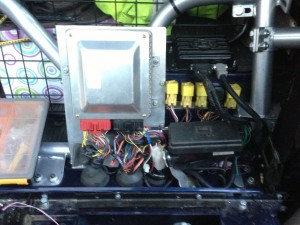
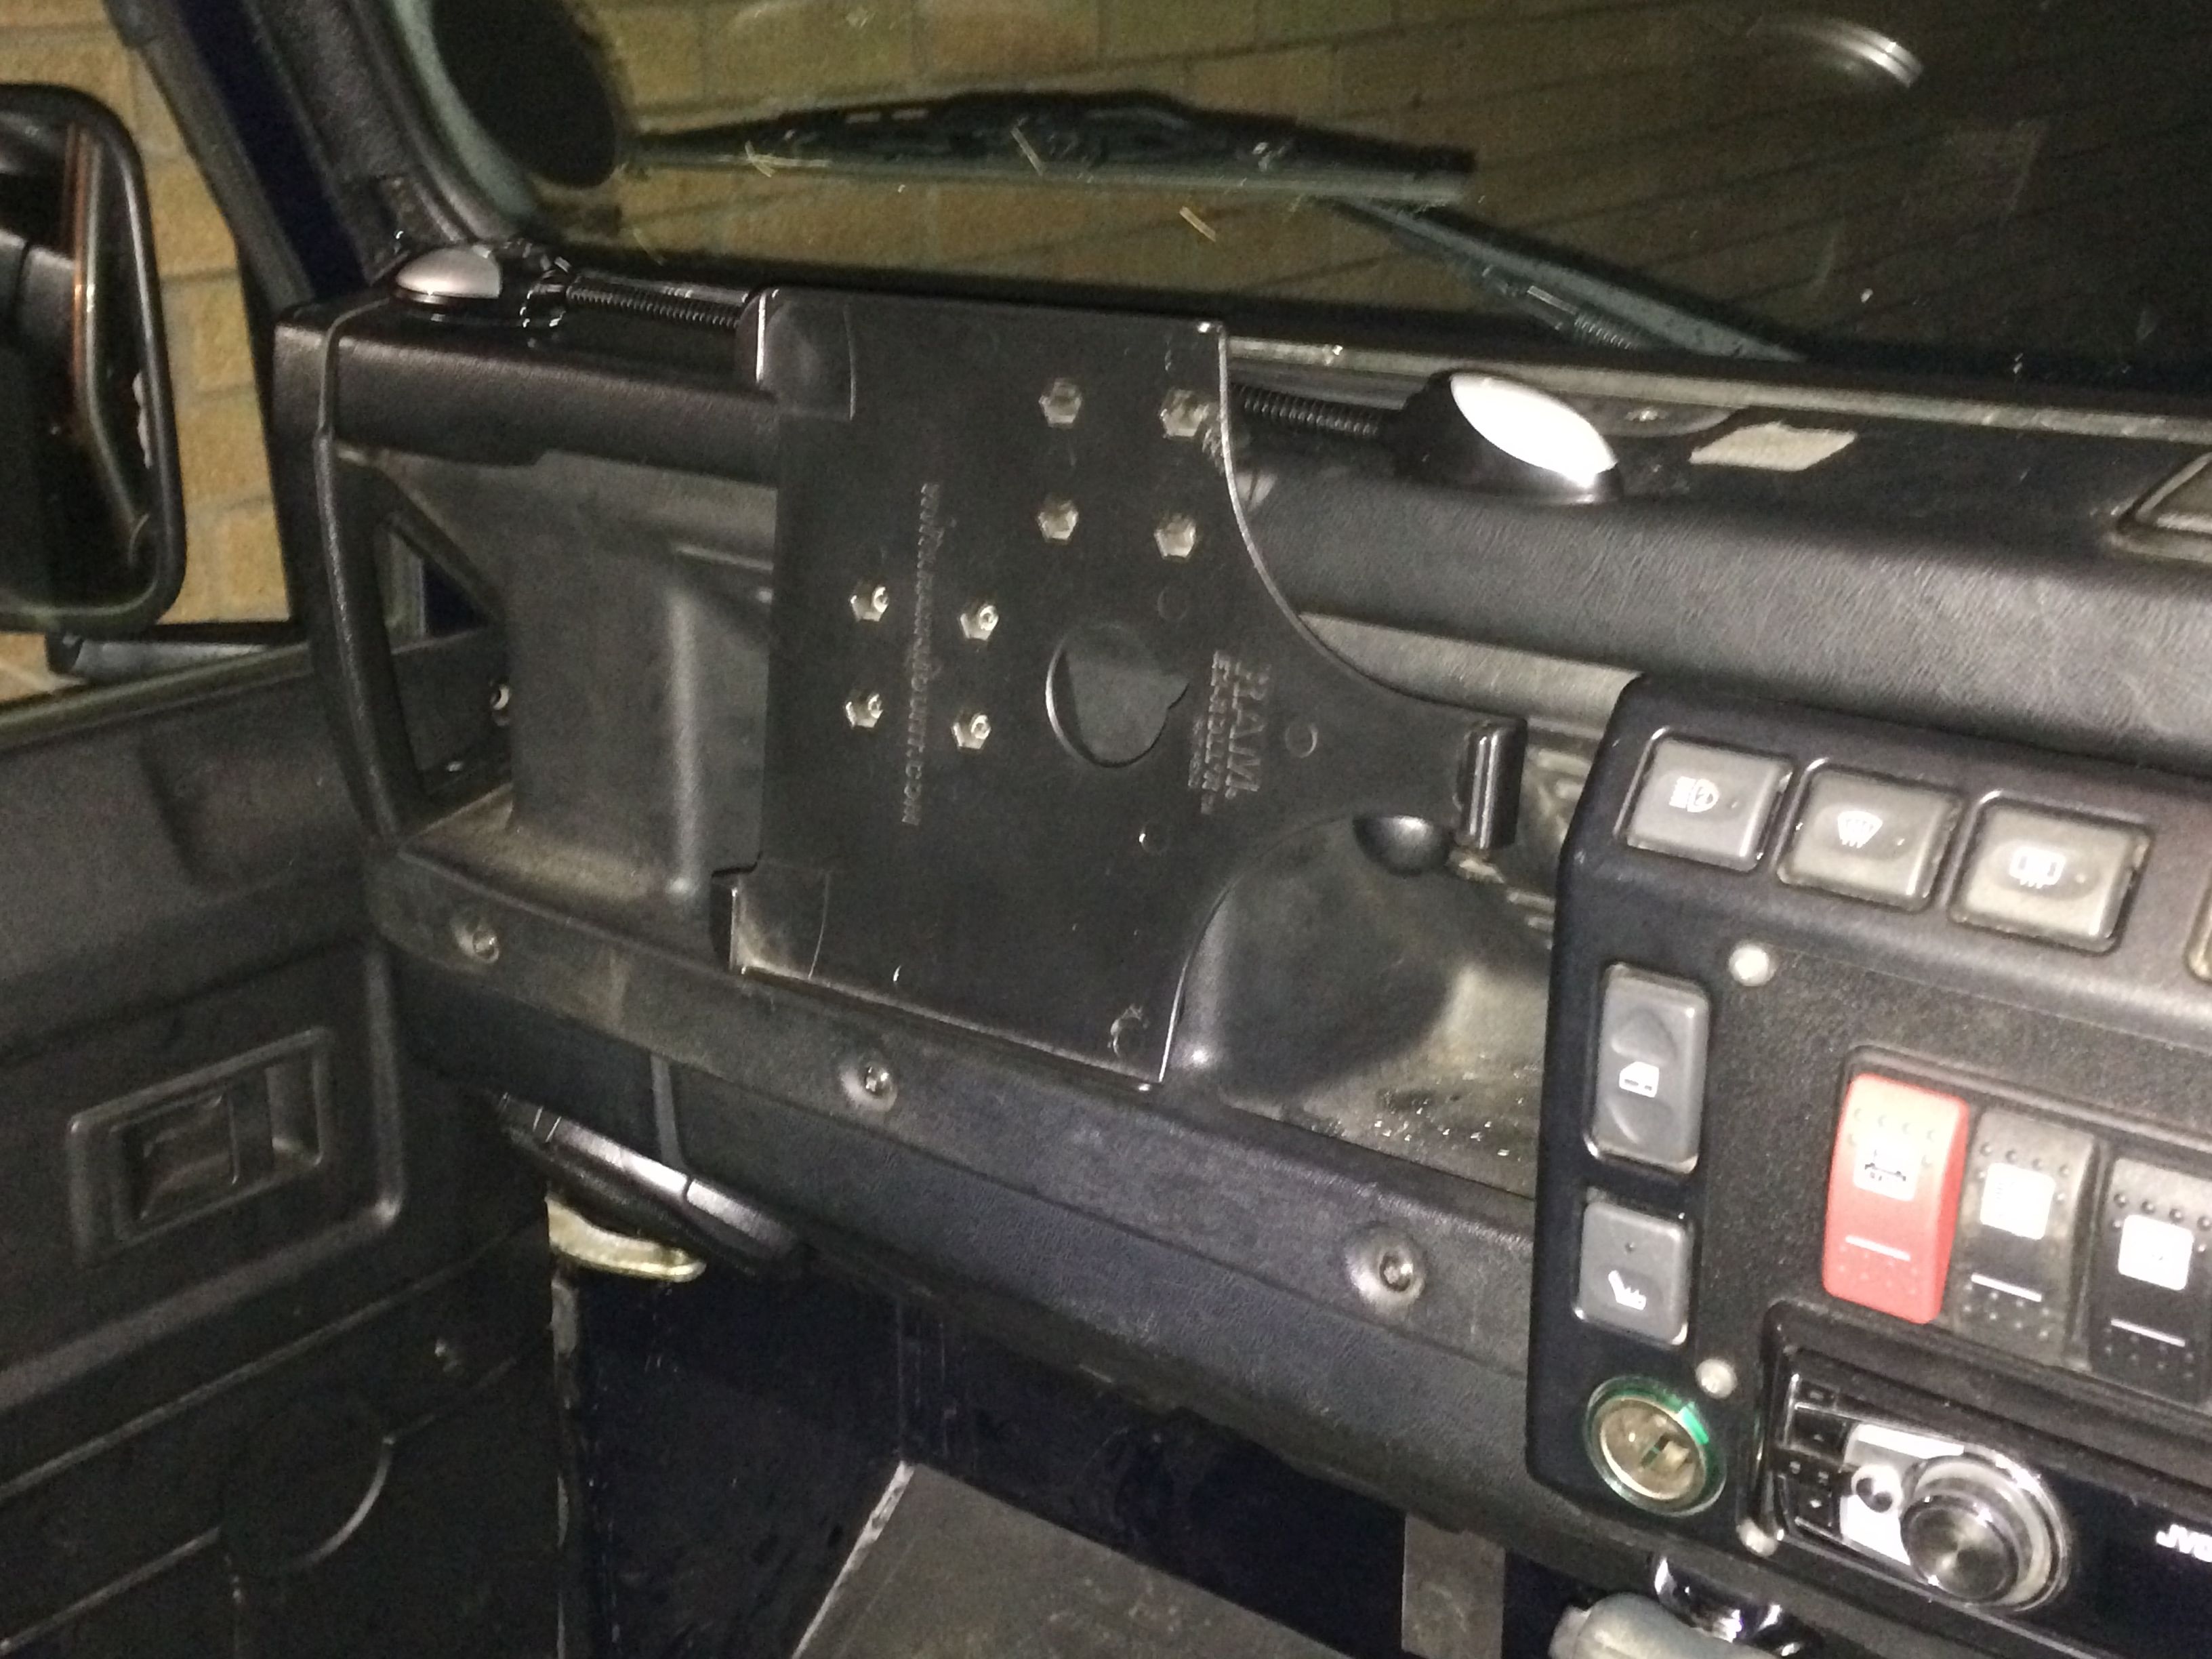
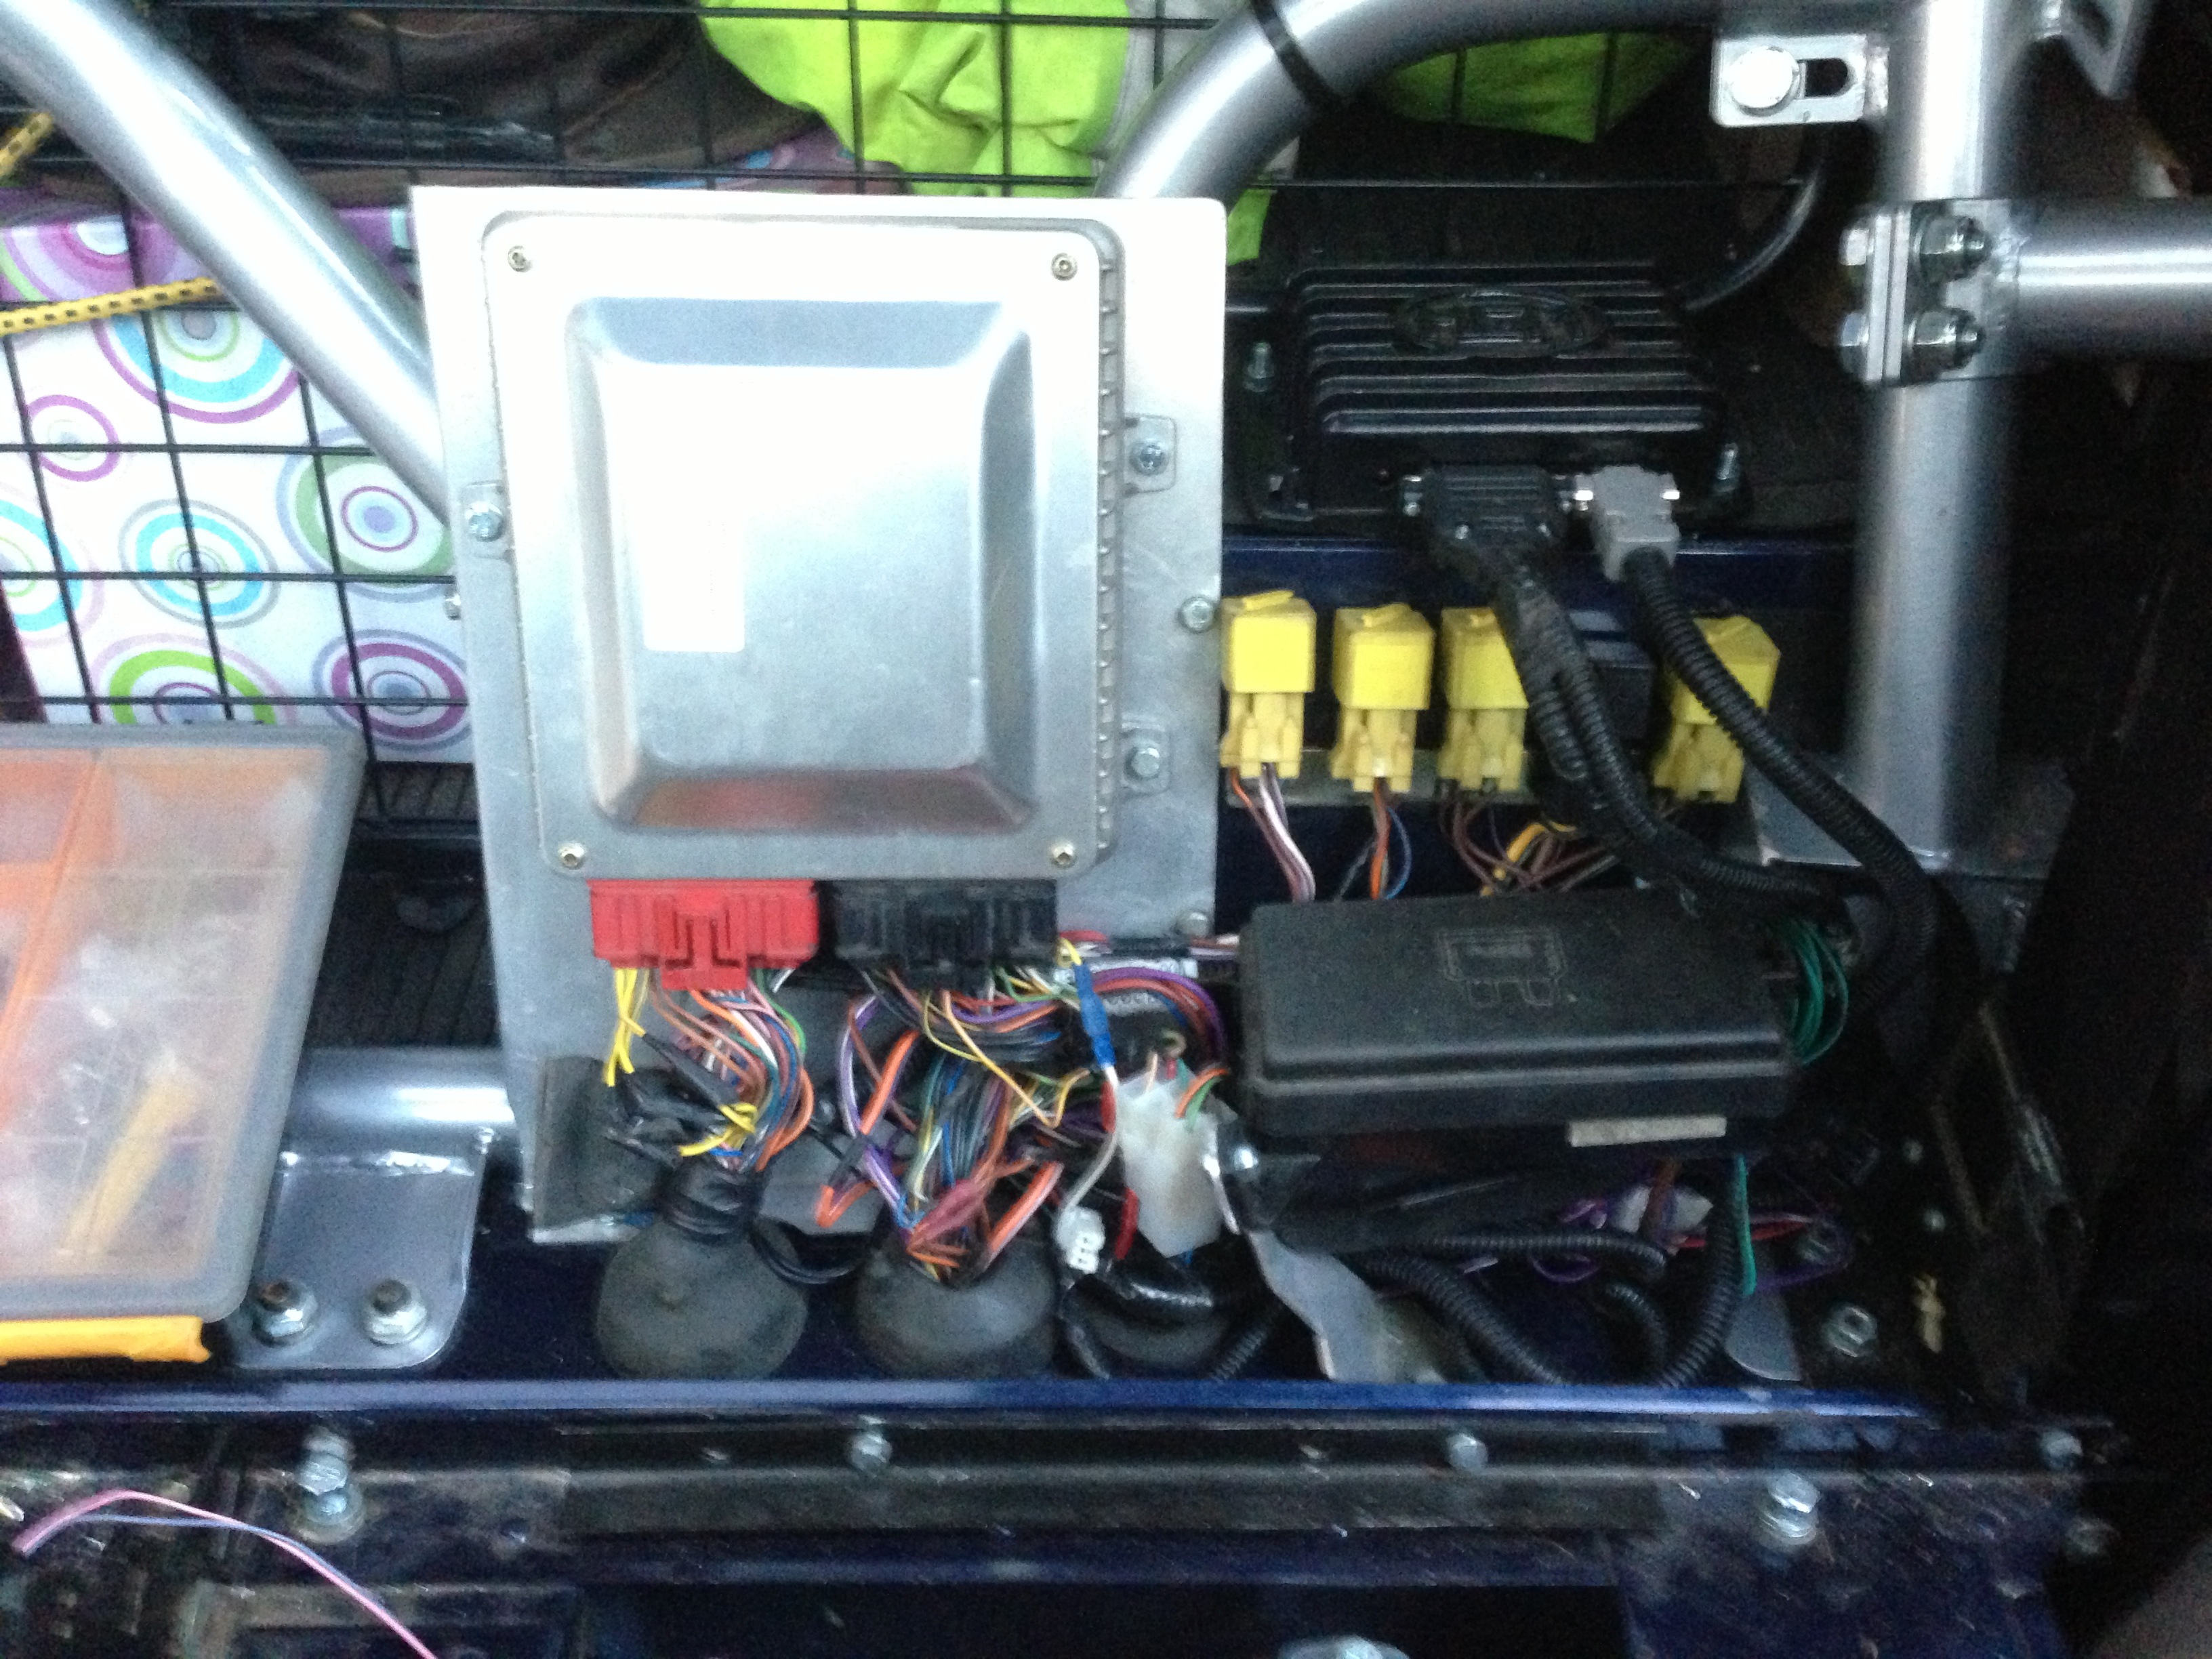
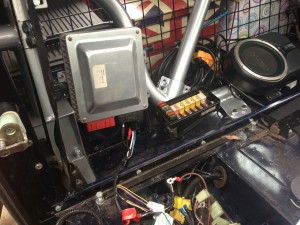
ECUs, relays and fuse box relocated.
I made up a mounting bracket for the fuse box and cut up an old bulkhead fuse box plate to make a mounting plate for all the relays to mount onto on the front of the wheel arch. The final task was to make a mounting plate for the engine ECU to mount to. The intention is to make a cover that goes over the whole setup but that will probably have to wait for a while as it’s not a priority.
The good news is that, after this major surgery, the engine and gearbox and all connected circuits are working fine again so I can move onto the next job. Just need to get the aux fuse box, ARB compressor and subwoofer back in now and put the interior back together again !