Category Archives: Recovery Gear

The end is nigh !!!

Well, the 90 is cleaned and packed with (hopefully) everything we need, all ready now for the truck to turn up tomorrow morning so it can be loaded up and sent on it’s way.

The last couple of days have been spent packing, unpacking, packing again and in the process we’ve added a number of additional tie down points so all the heavy items are strapped down and secured now. The dining room, which has been used as a “staging area” for the last year is looking very empty !

A few random pictures from my iPhone…

IMG_0429 IMG_0432 IMG_0433 IMG_0434

Mounted and covered !

It’s been a couple of weeks since the last update and with about 5 weeks to go before the shipping date it’s been a week of checking and re-checking what needs doing still and that we are still on track both in time and budget. Fortunately, so far, it’s looking pretty good, let’s hope it stays that way 🙂

Hi-Lift Jack in position 
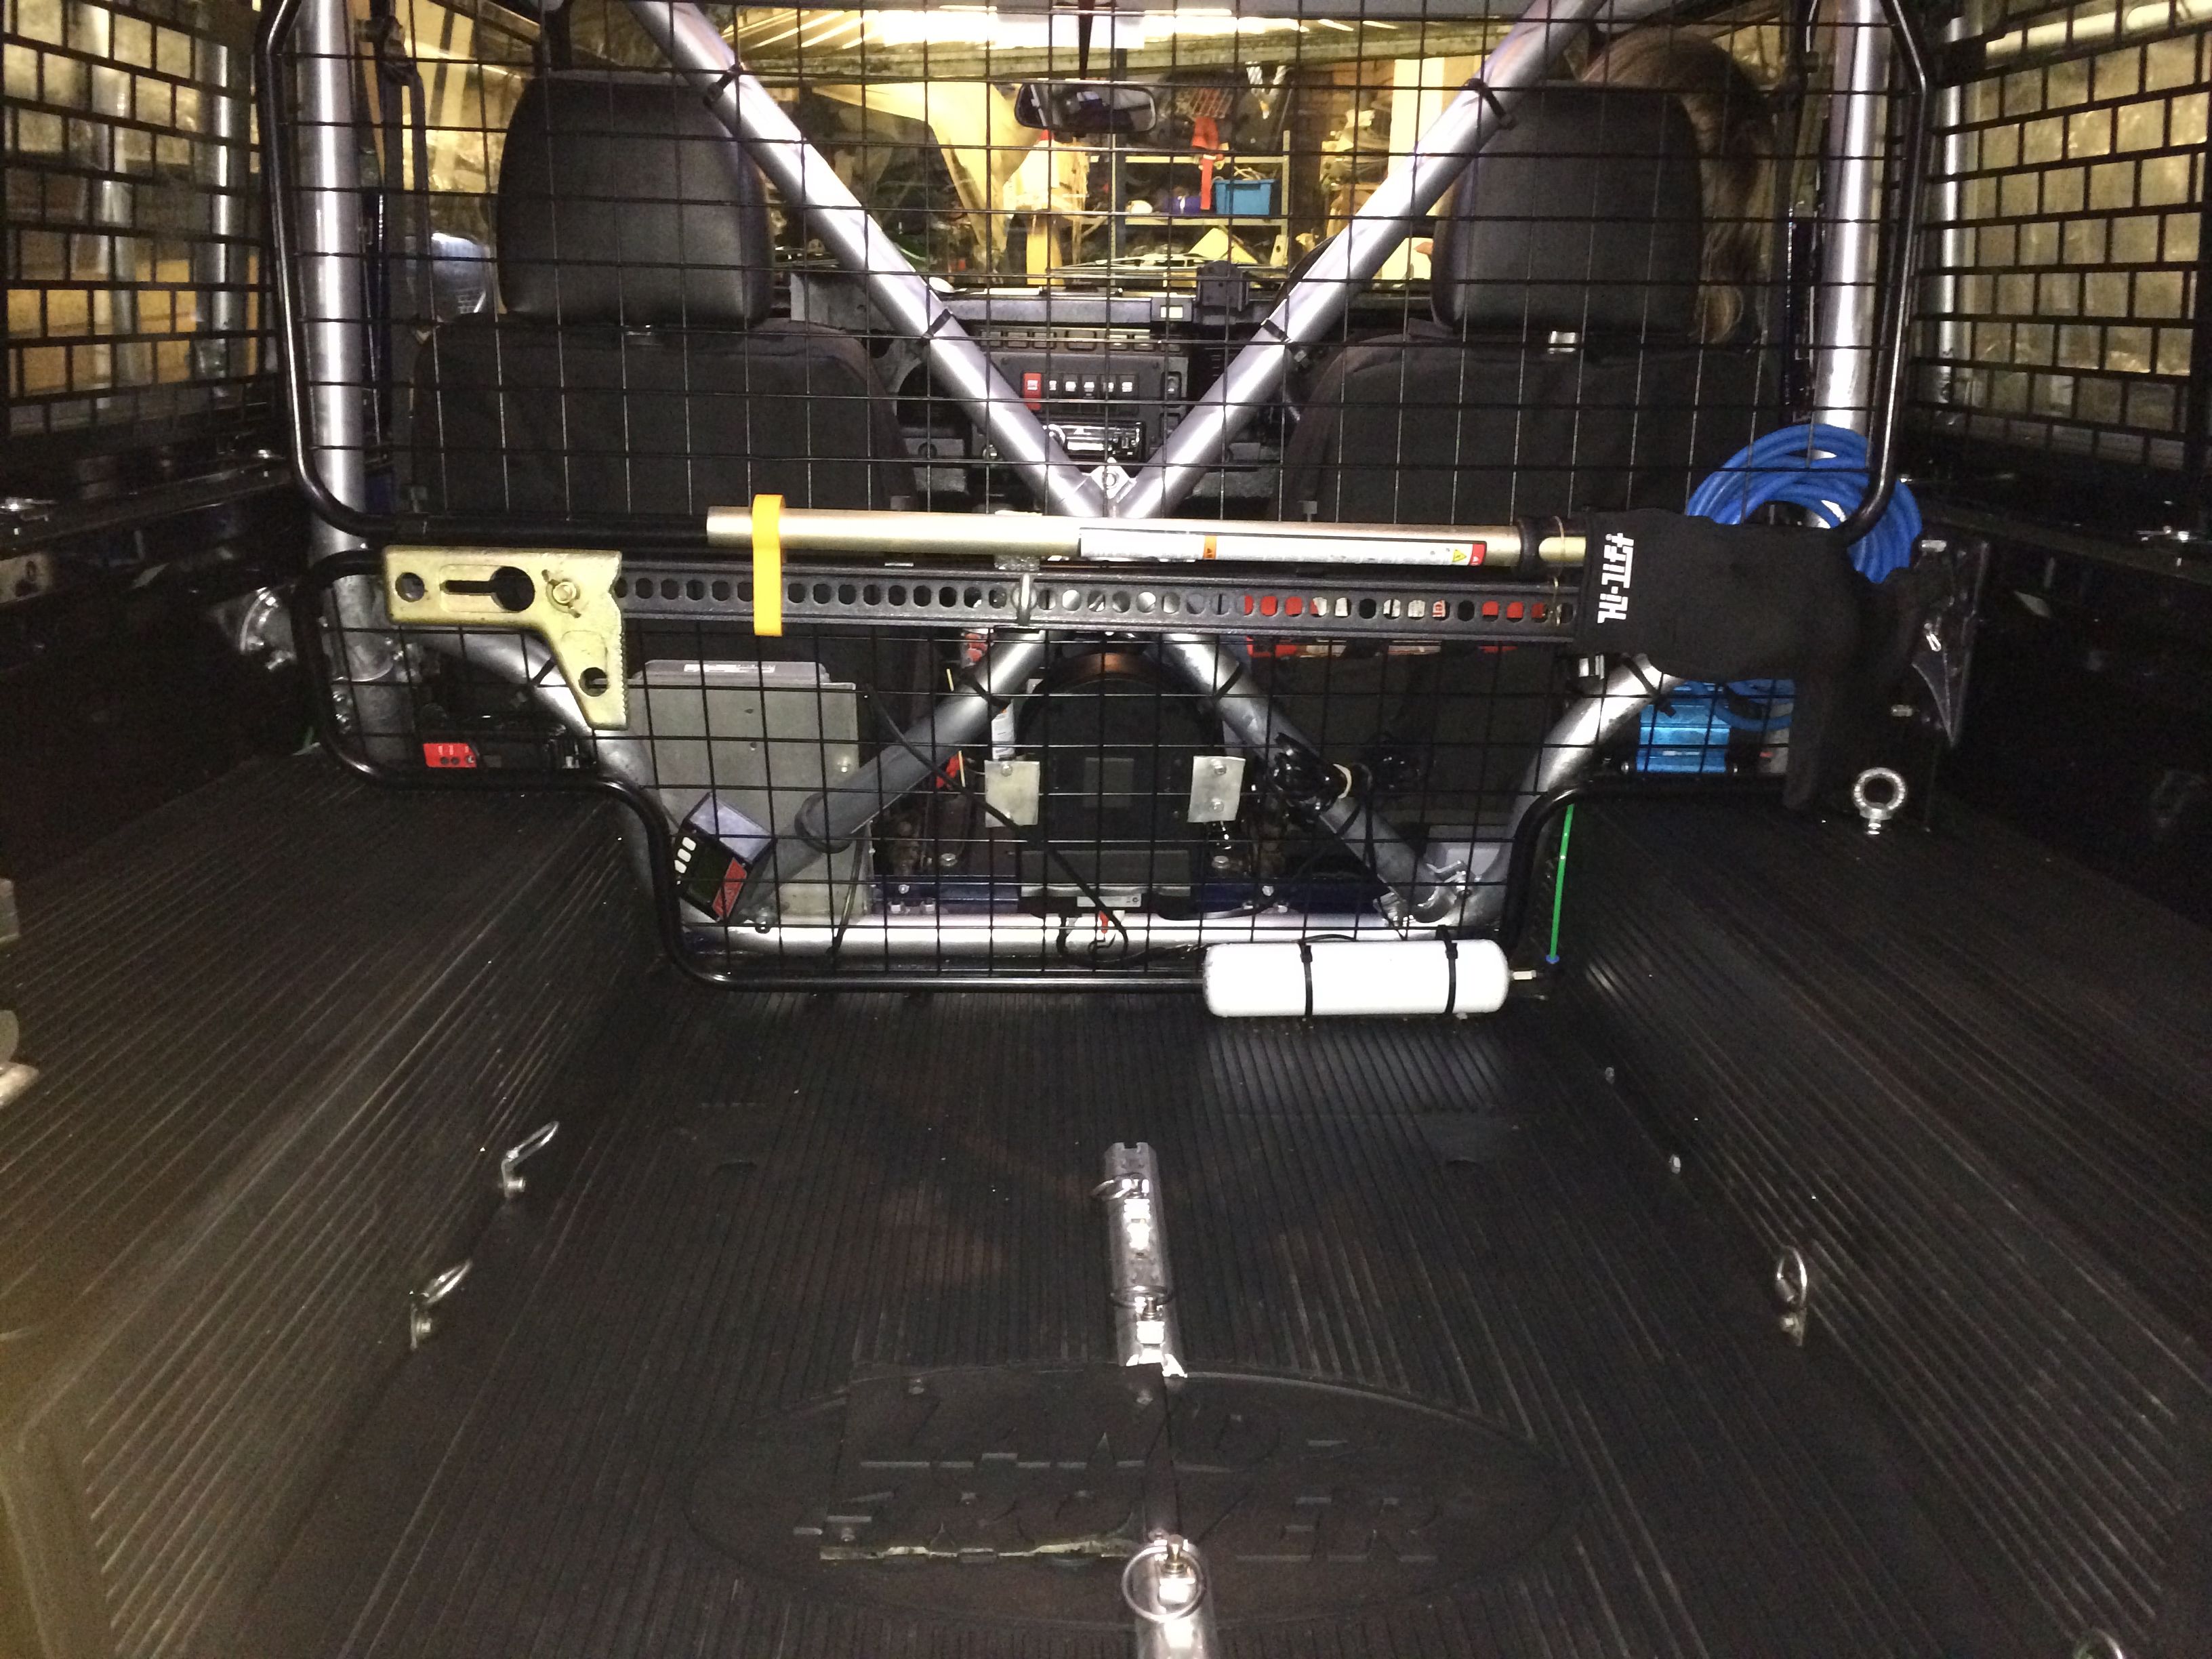
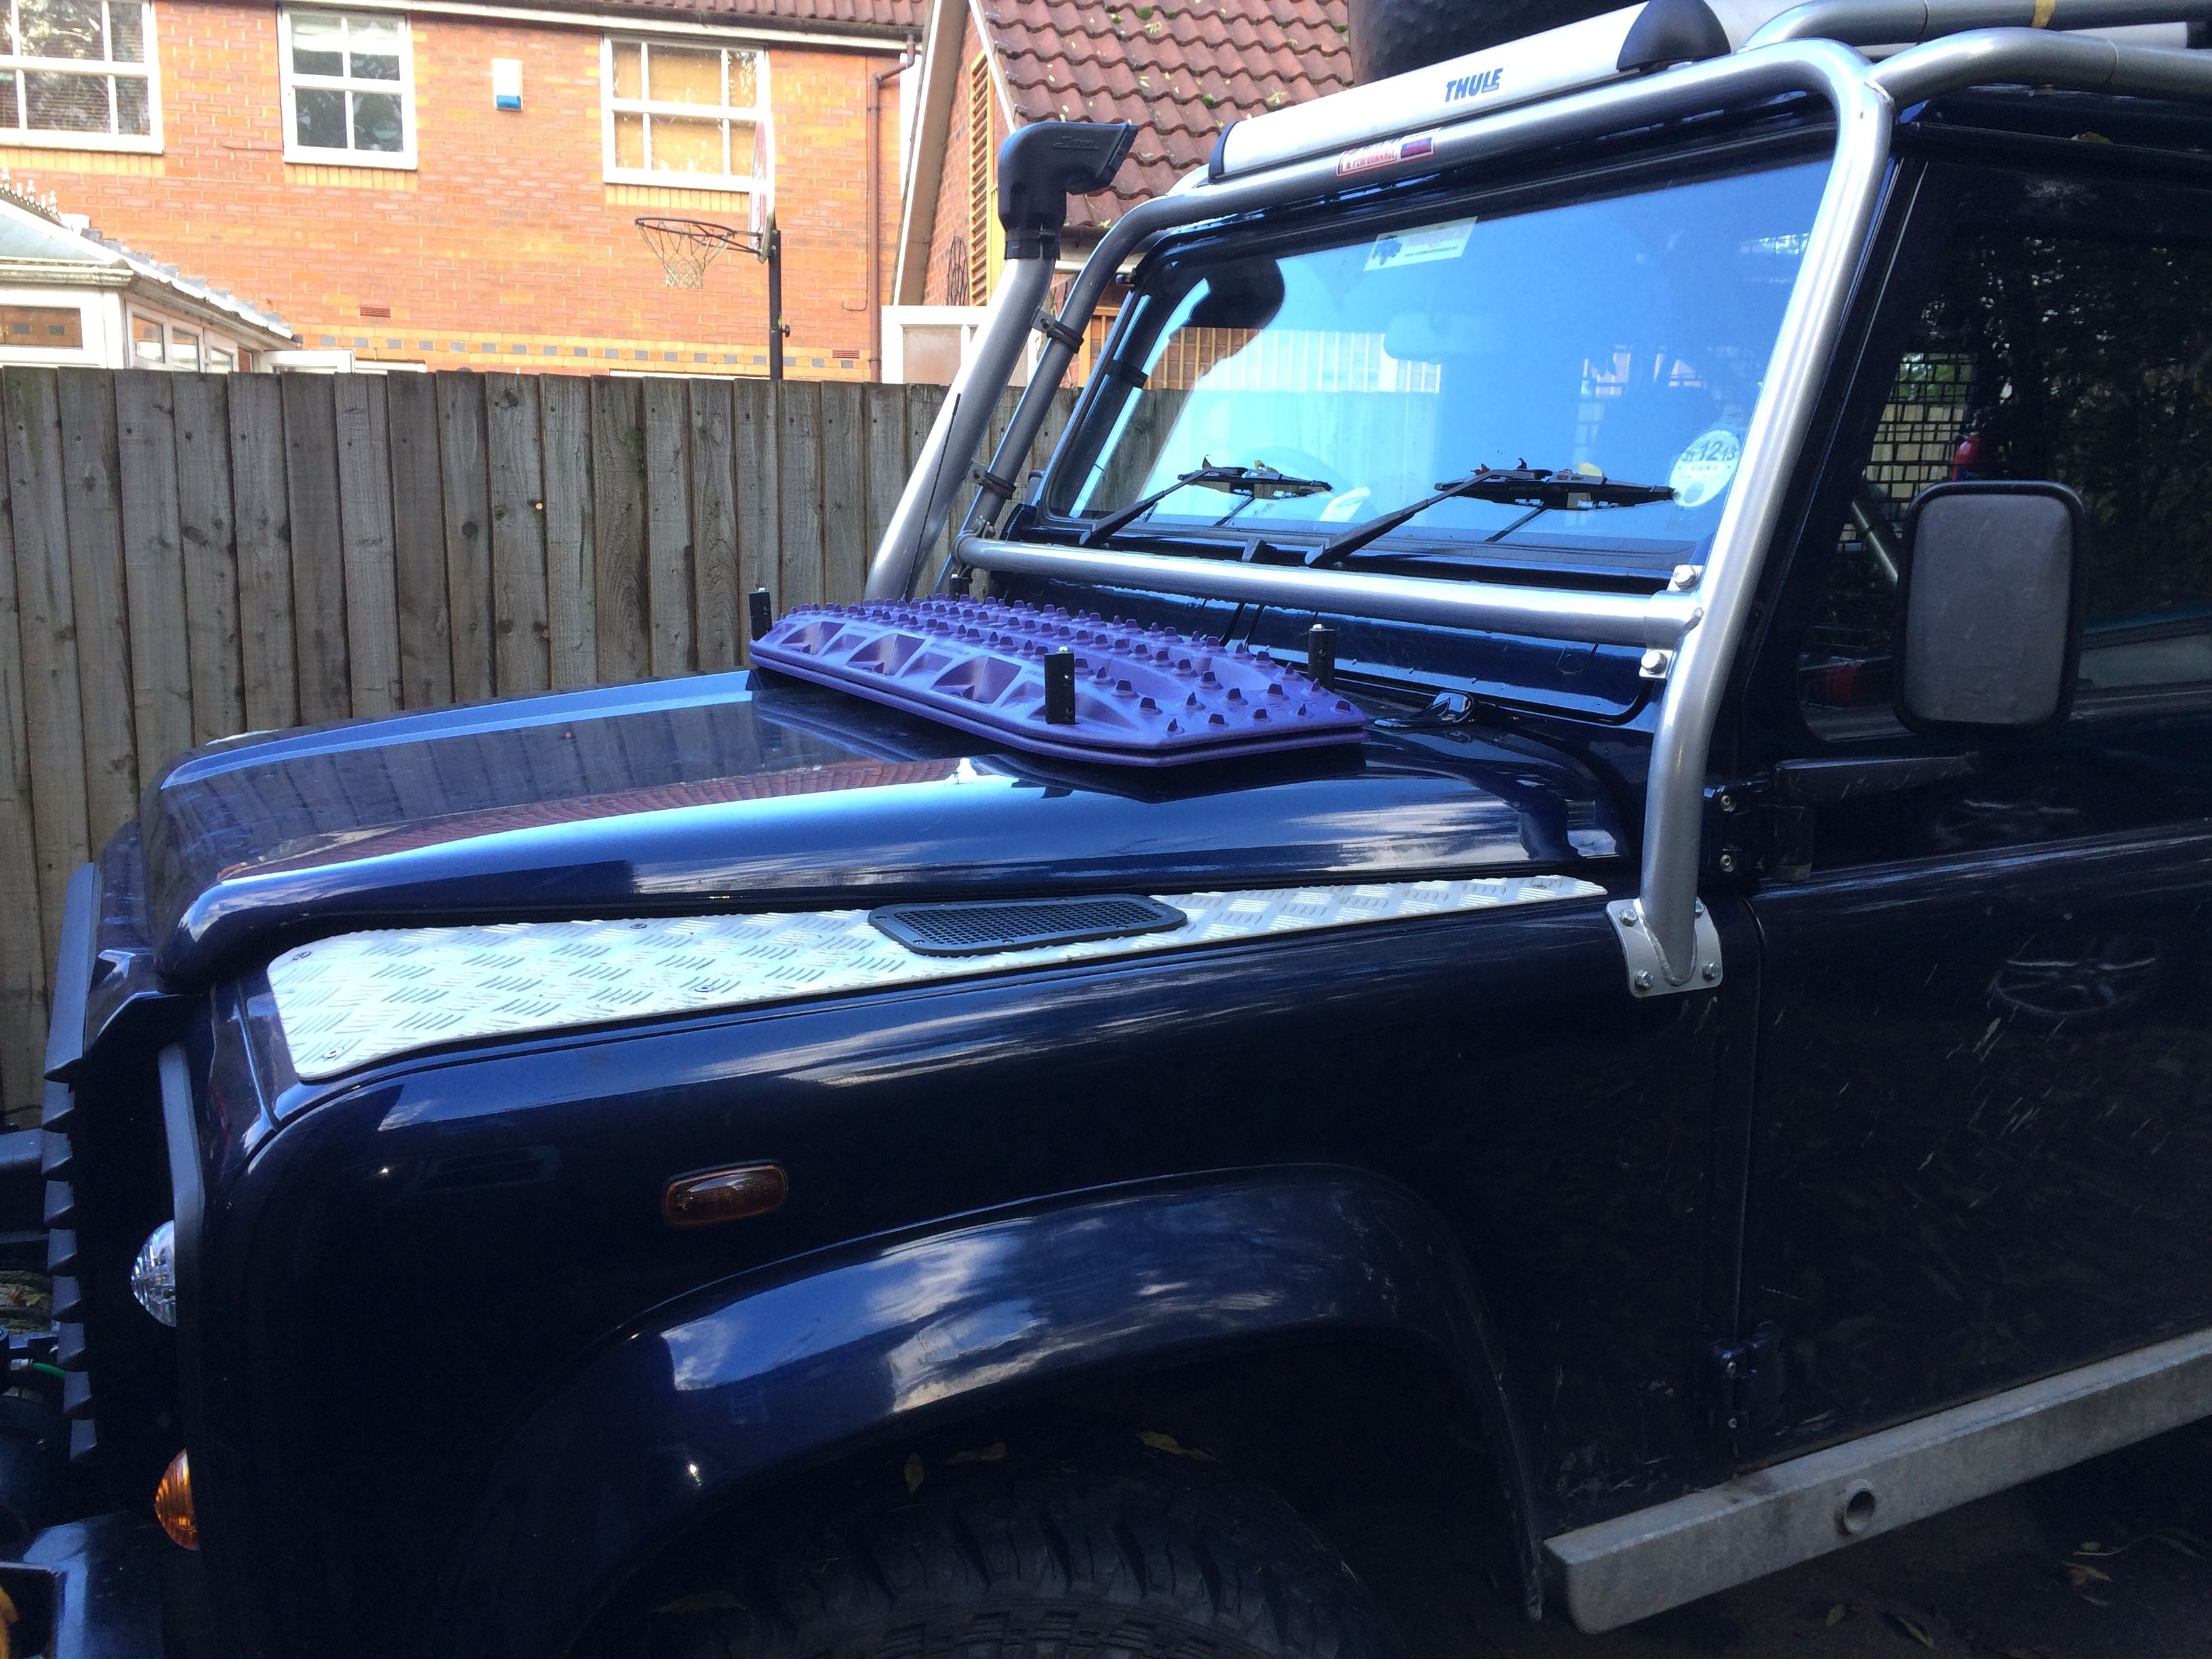
The Hi-Lift mount is done, painted and fitted, I got some M10 ring nuts as an impulse buy while perusing an online nut and bolt shop (as you do) and it turns out they are perfect as a way of securing the Hi-Lift to the mount and providing extra tie down points. With the design I eventually came up with the Jack is secured with a single one of these nuts and is held securely with no rattling. A second nut can be added to the foot for additional security but isn’t really needed.

ECU wiring cover
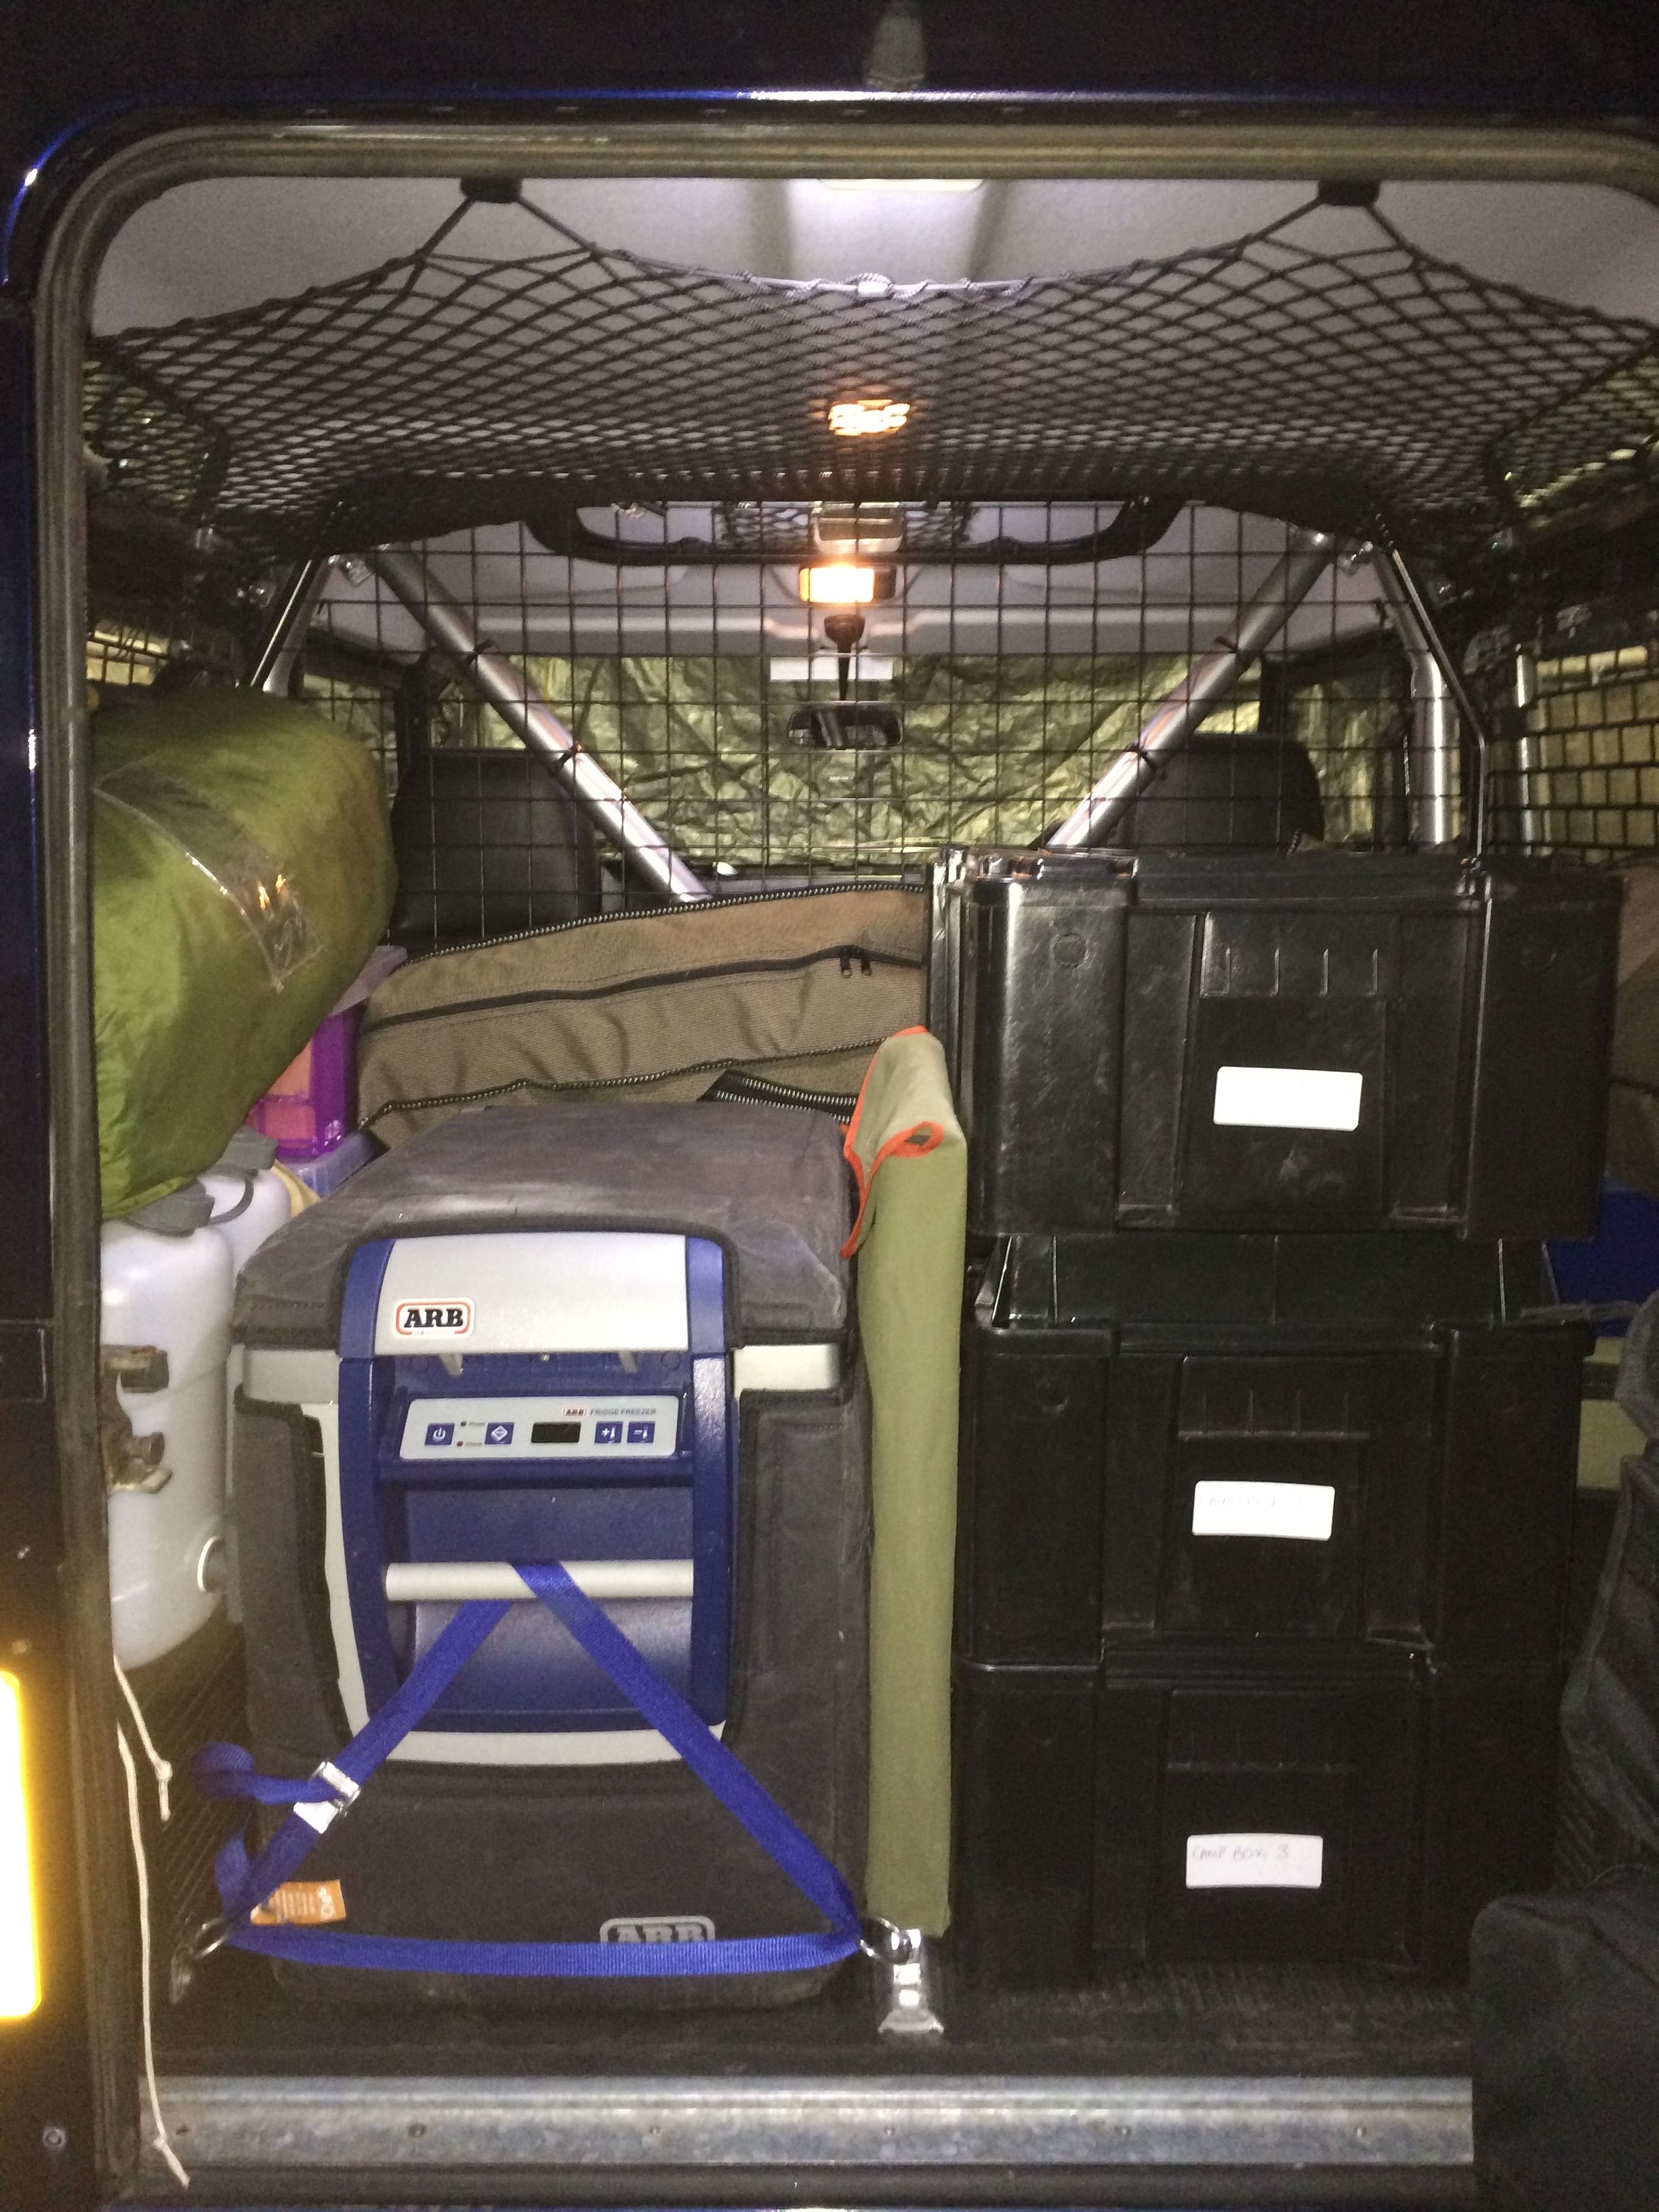
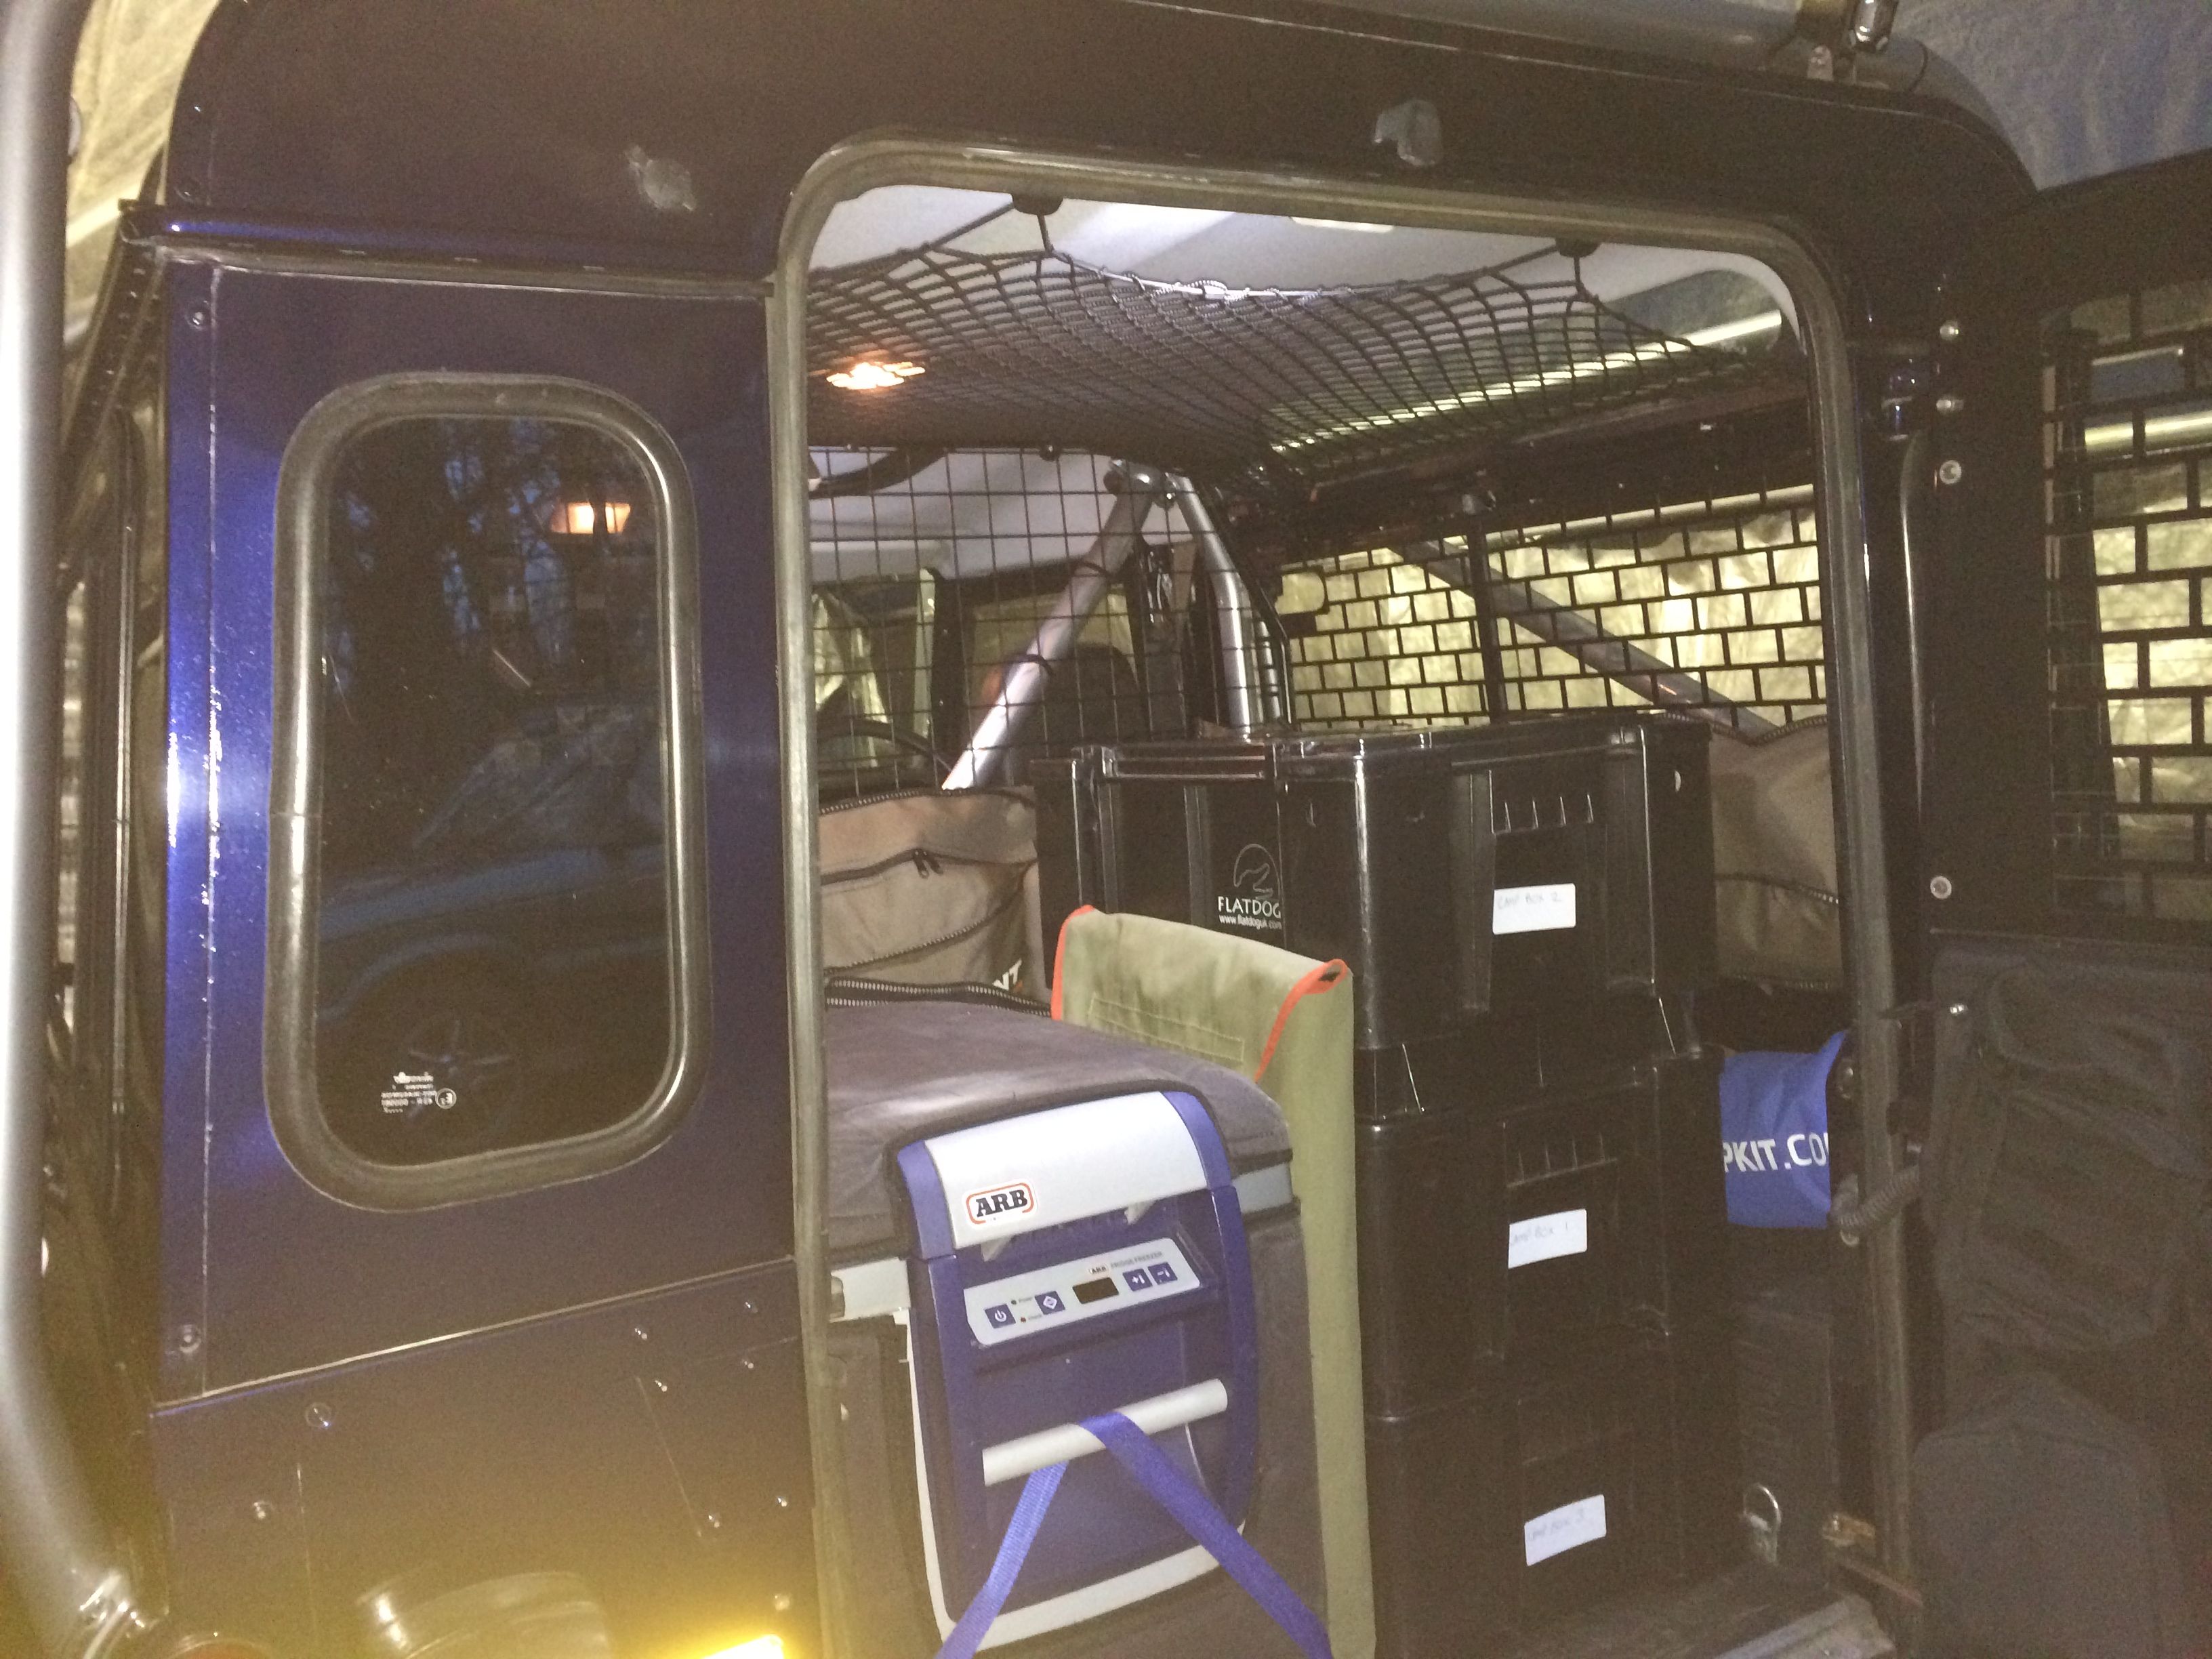
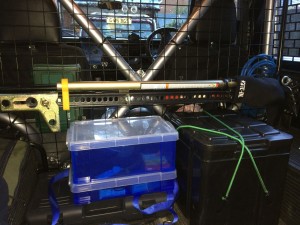
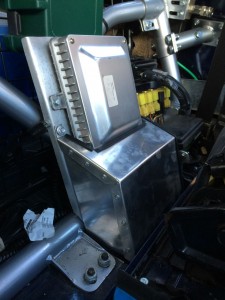
Another in the long list of jobs I’ve been meaning to get around to was to make a cover for the ECU, or at least a cover for the wiring going into the ECU. Being behind the seat we’ll probably end up stuffing clothes, water, snacks and who knows what else behind the seats and there was always a danger that this would stress a wire or separate a plug so it needed to be a bit more robust.

in between rain showers and F1 coverage I ended up making 3 different covers, the first out of cardboard to use as a template, the second out of aluminium based on the template and the third because the first two didn’t quite fit right ! Third time lucky though and I’m quite pleased with the result, not too intrusive and covers all the important bits while allowing access to the fuse box and relays.

One other thing we’ve “ticked off” this week is the MOT test, the MOT is/was due to expire in March 2014 which isn’t ideal so we’ve taken it for an MOT 5 months early so it will be fully UK road legal throughout the trip (one of the requirements for use in Australia as a foreign vehicle). As expected (although always a relief !) it passed without any problems/advisories.


Hi-Lift Jack Mount – Part 1

Spent most of today trying to figure out how to mount the Hi-Lift and starting to fabricate suitable brackets for it. We had hoped to modify some “off the shelf” brackets but, having ordered them from two different online suppliers and having both of them cancel the order due to lack of stock, I was left with no option but to start from scratch.

As with all fabrication jobs it took ages to figure out how I was going to secure the jack and then, with that determined, actually cutting and welding the steel to turn the idea into reality. By the end of the day I had the “foot” end bracket put together and working and a pretty good idea of how the “rack” end bracket will look and be attached to the roll cage, probably a few more hours though before it’s completed.

Having now mothballed the ground anchor idea and the whole “move the front winch to the rear” idea we’ve also bought a set of chains for the Hi-Lift so we can use it as a hand winch – only for use when all else has failed I suspect as it’ll be hard graft 🙂

Traction aids and tent away

MaxxTraxx Mounted on Bonnet

One of the restrictions that using a 90 places on us is a distinct lack of space to store stuff ! With the spare tyre on the roof (the only place that can go) the only place left for the MaxTrax boards to go is to mount them on the bonnet. I had toyed with hanging them on the sides, putting them on top of the spare tyre, putting them on top of the tent and so on but it didn’t really work.

The boards (there will be 4 of them, 2 shown in the pic) are a great aid for getting the vehicle moving, especially on soft sand, and as such they really need to be readily accessible when we do need them and quick and easy to stow again when we get moving. We bought a set of the official mounting pins for them from Australia (much cheaper than buying them in the UK and they were delivered within 3 working days – very impressed !). They hold the boards firmly and the boards don’t touch the bonnet at all. Obviously their position on the bonnet had to be carefully thought through – as far back as possible but far enough forward that the bonnet can be opened without fouling the roll cage !

We chose the purple boards as the colour kind of blends in with the pearlescent blue of the 90 which tends to take on a purple sheen in sunlight.

Last job on Saturday was to remove the roof tent for the final time before it goes in the container and with gale force winds forecast for Sunday and Sunday night the last thing we need right now is to have a tree land on it ! It’s currently sat in the living room, opened up, so we can clean it out thoroughly and give it a final check before packing it for shipping.

Packing it all in…

20130610-001304.jpgSpent a good part of today packing, unpacking and repacking the 90 in preparation for our latest mini expedition. This will probably be the last real shakedown before we ship to Australia so lots to learn and test !

We eventually managed to get everything we need in and still have some space to spare… It is starting to get a bit crowded in there though. In the next couple of weeks we should finalise the list of what’s worth taking and what can be left behind and hopefully we’ll also get an idea of the fuel consumption we can expect when fully loaded.

Rear recovery point

IMG_0332 For a while now I’ve planned to replace the standard drop plate and tow hitch on the back of the 90 with a 2 inch receiver. This allows a number of different items to be attached to the rear of the vehicle including a standard drop plate for towing or a simple shackle for recovery. If we can figure out somewhere to store it we’ll get a winch mounting plate for it too so we can potentially move the winch from the front to the rear.

IMG_0333I’ve been putting the job off because the standard hitch was bolted on before the rear fuel tank was fitted without using captive nuts. The upshot of which is that it looked like I’d need to drop the rear fuel tank to change it which is far from an easy job on a TD5 90 let alone one with an additional tank connected to it.

Anyway, as it turned out I managed to do the job with a bit of keyhole surgery, managing to slide the tank and it’s guard half an inch forward, just enough to get the job done. I made up a 6mm thick spreader plate and welded captive nuts on it to fit the receiver hitch so I shouldn’t have the problem again.

ICE anyone ?

Spent some time on the ICE in the hope that we’ll be able to actually hear the radio/mp3s. Very impressed with the way the solenoid mounts and connects to the winch motor.

The ICE work involved fitting another pair of Kenwood speakers in the rear (already fitted some in the front) and a small subwoofer behind the driver’s seat. Sounds good, the subwoofer makes a huge difference.

Also wired up the winch and ran the airline for the freespool, then put the rope on the winch so it’s actually possible to use it now.

D44 Winch Bumper

winchandbumper2Fitted the winch bumper and winch today. The winch isn’t wired up yet but it’s starting to come together. I want to wire it up in such a way that, in an emergency, the winch can be moved to the rear and mounted on a plate on the rear cross member – just in the off chance that going forward isn’t an option !

Also mounted the ARB compressor on the wheel arch behind the passenger seat. Eventually it will power the ARB lockers and the winch freespool as well as providing air for blowing tyres up.